Bollard Jumpers
This is a guest post from a London writer.
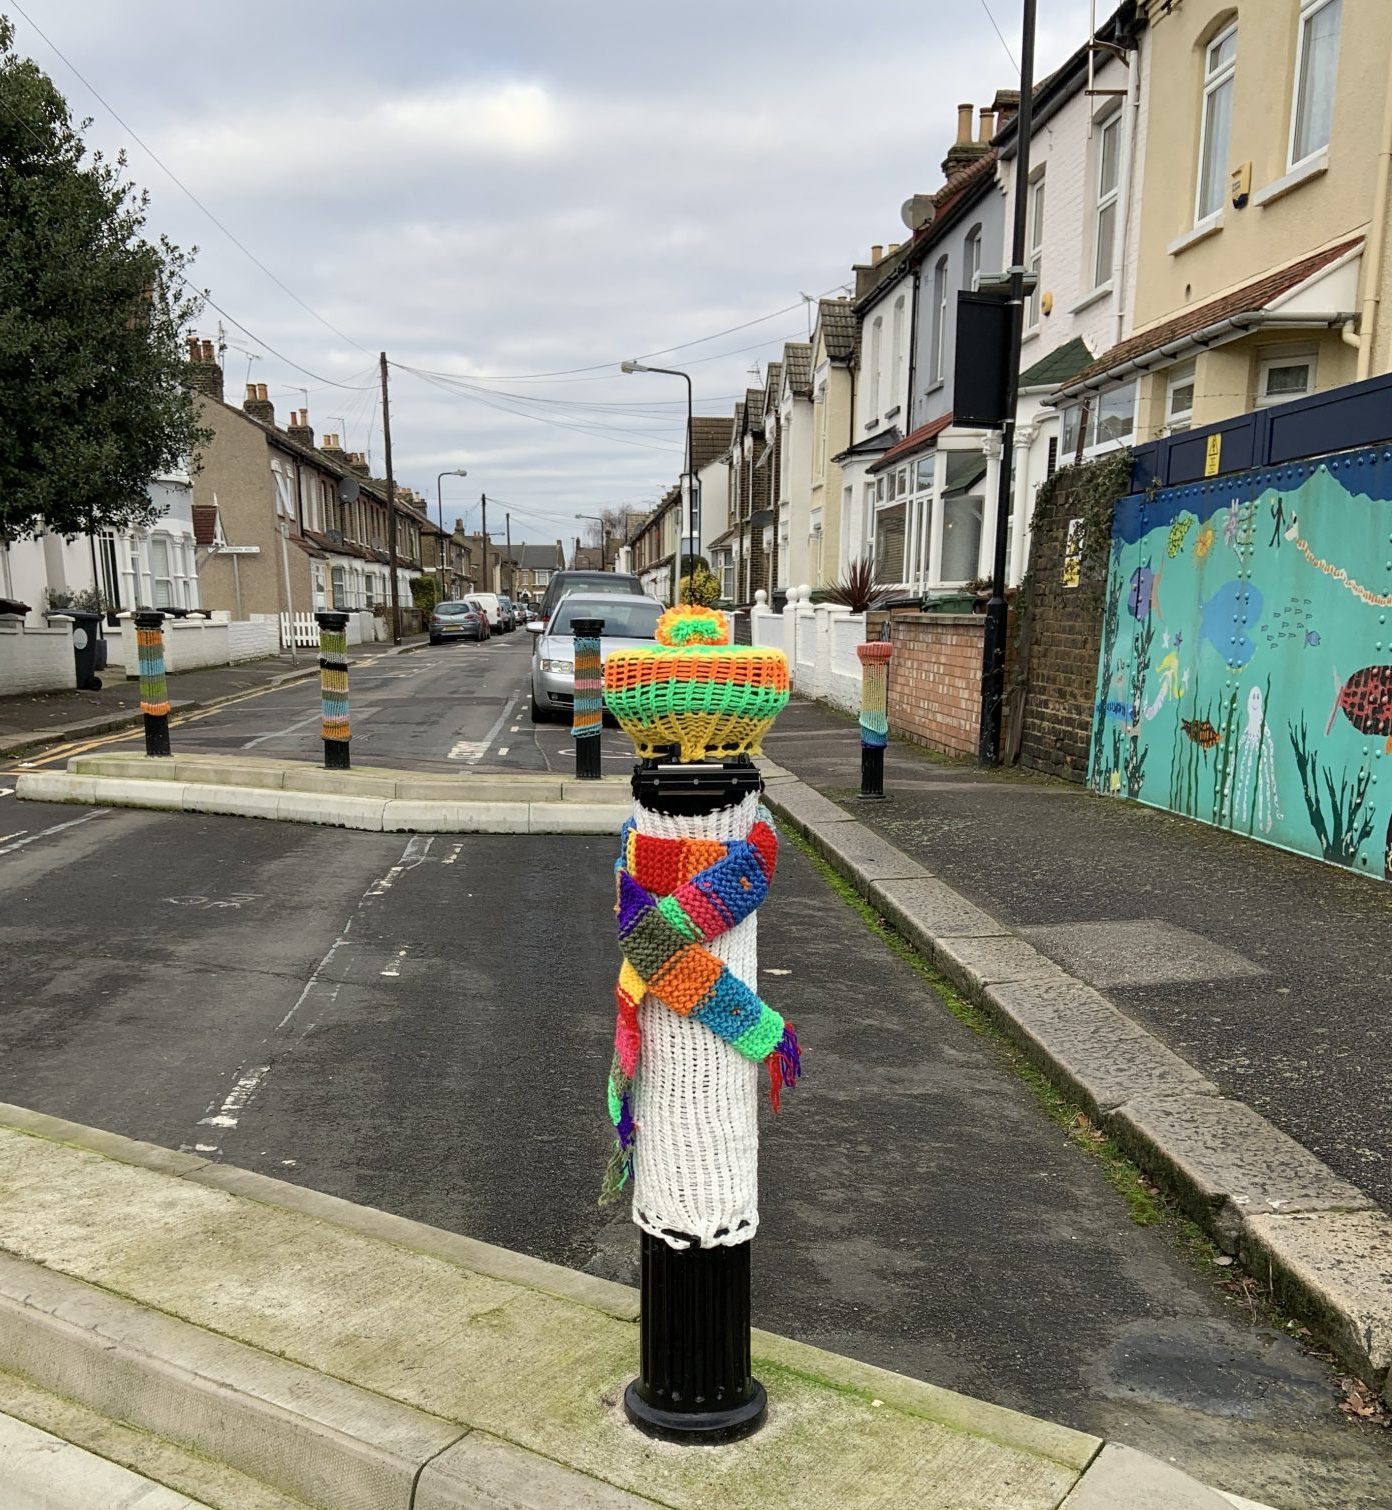
When rows of bollards appeared near my home to restrict traffic I thought it would be fun to decorate them. I knew I needed to do something temporary that could be removed, if necessary, as I don’t own the bollards (I presume the local council does).
Firstly, I tried sticking decorations on top first but they were soon broken off and taken away by people passing by. I tried adding fabric drawings and paintings with elastic over the top of the bollards but they were removed and left strewn down the street.
I thought about graffiti knitting but my hands ache too much for so much traditional knitting and it’s not great for tired eyes in the evening.
Inspiration
While trying to think of another decoration method I saw a video about an old man who made woolly knitted hats on a round loom. It looked so simple so I ordered a round knitting loom set (four different sizes). You can get the sets on eBay and Amazon for about £10-£15. (Links provided for convenience only.) After making lots of winter hats I realised this was a quick and simple way to cover the bollards.
What If You Can’t Knit?
You do not need to be highly creative or have any knitting skills to create these bollard jumpers. Men, women and children can make them and they are quick to complete.
Bollard Jumpers
Note, I always simply called these bollard covers until I heard a young girl talking to her parents about them and she called them bollard jumpers. I liked that name so I use it now. I’ve also heard children say the uncovered ones are naked bollards which made me smile too.
How to Use a Round Knitting Loom
The gist of it is to wrap the yarn around the pegs and to use a hook (pick tool) to bring the yarn over the peg before wrapping more. (For those old enough to remember, it’s like a ‘Knitting Nancy‘ – a craft tool I had as a child.)
There are a few stitches to learn but the basic stitch is the e-wrap stitch. There are lots of YouTube videos to see how this is done.
You can easily make a simple hat in an evening. This video gives clear instructions.
Once I had also learned the purl stitch, I could then do a few rows of ribbing at the start of each tube of knitting. Ribbing is a couple of stitches of e-wrap and a couple of stitches of purl and then repeat. The loom has an odd number of pegs so remember to do a single stitch at the end so you start at the same place for each round.
Purl stitch instructions:
You can see an example of ribbing in the next video. This knitter does a ‘one knit, one purl’ rib and I do two stitches knit and two stitches purl for the bollards. Either would be fine. If you’re working on a loom with an odd number of pegs, then simply remember to start with the same stitch on each ‘row’ (so you’ll have a single ‘extra’ stitch if that makes sense).
Cast-On and Cast-Off Tips
To get the bollard cover on it has to fit over a wider section at the top so the cast on needs to be stretchy. The best cast-on idea I’ve found so far is the one for these leg warmers:
And the cast off for these leg warmers allows the bollard jumpers to be stretchy at both ends (the video will start at the right place for the cast-off/bind-off instructions).
Which Size Loom to Use
To make a tube to cover a standard bollard, you need a 31-peg round loom (19cm diameter). Mine is pink but different makes come in different colours.
Type of Yarn
I started just using any wool/yarn I had at home so it was a free bit of fun. This gave us multi-coloured bollard covers but in somewhat muted tones.
I soon found bright colours look best so bought balls of double knitting acrylic yarn from local shops for £1 or £1.50 for a 100g ball. Chunky yarn can be used too but is about £2 a ball from my local shops. You can order online too from places such as Hobbycraft or eBay.
I now double up on the strands for the double knitting yarn or use a single strand for chunky yarn.
Knitting Pattern
Use the stretchy cast-on above, do a few rows of ribbing (5 rows is enough) and then e-wrap the rest of the rows so it’s quick to make.
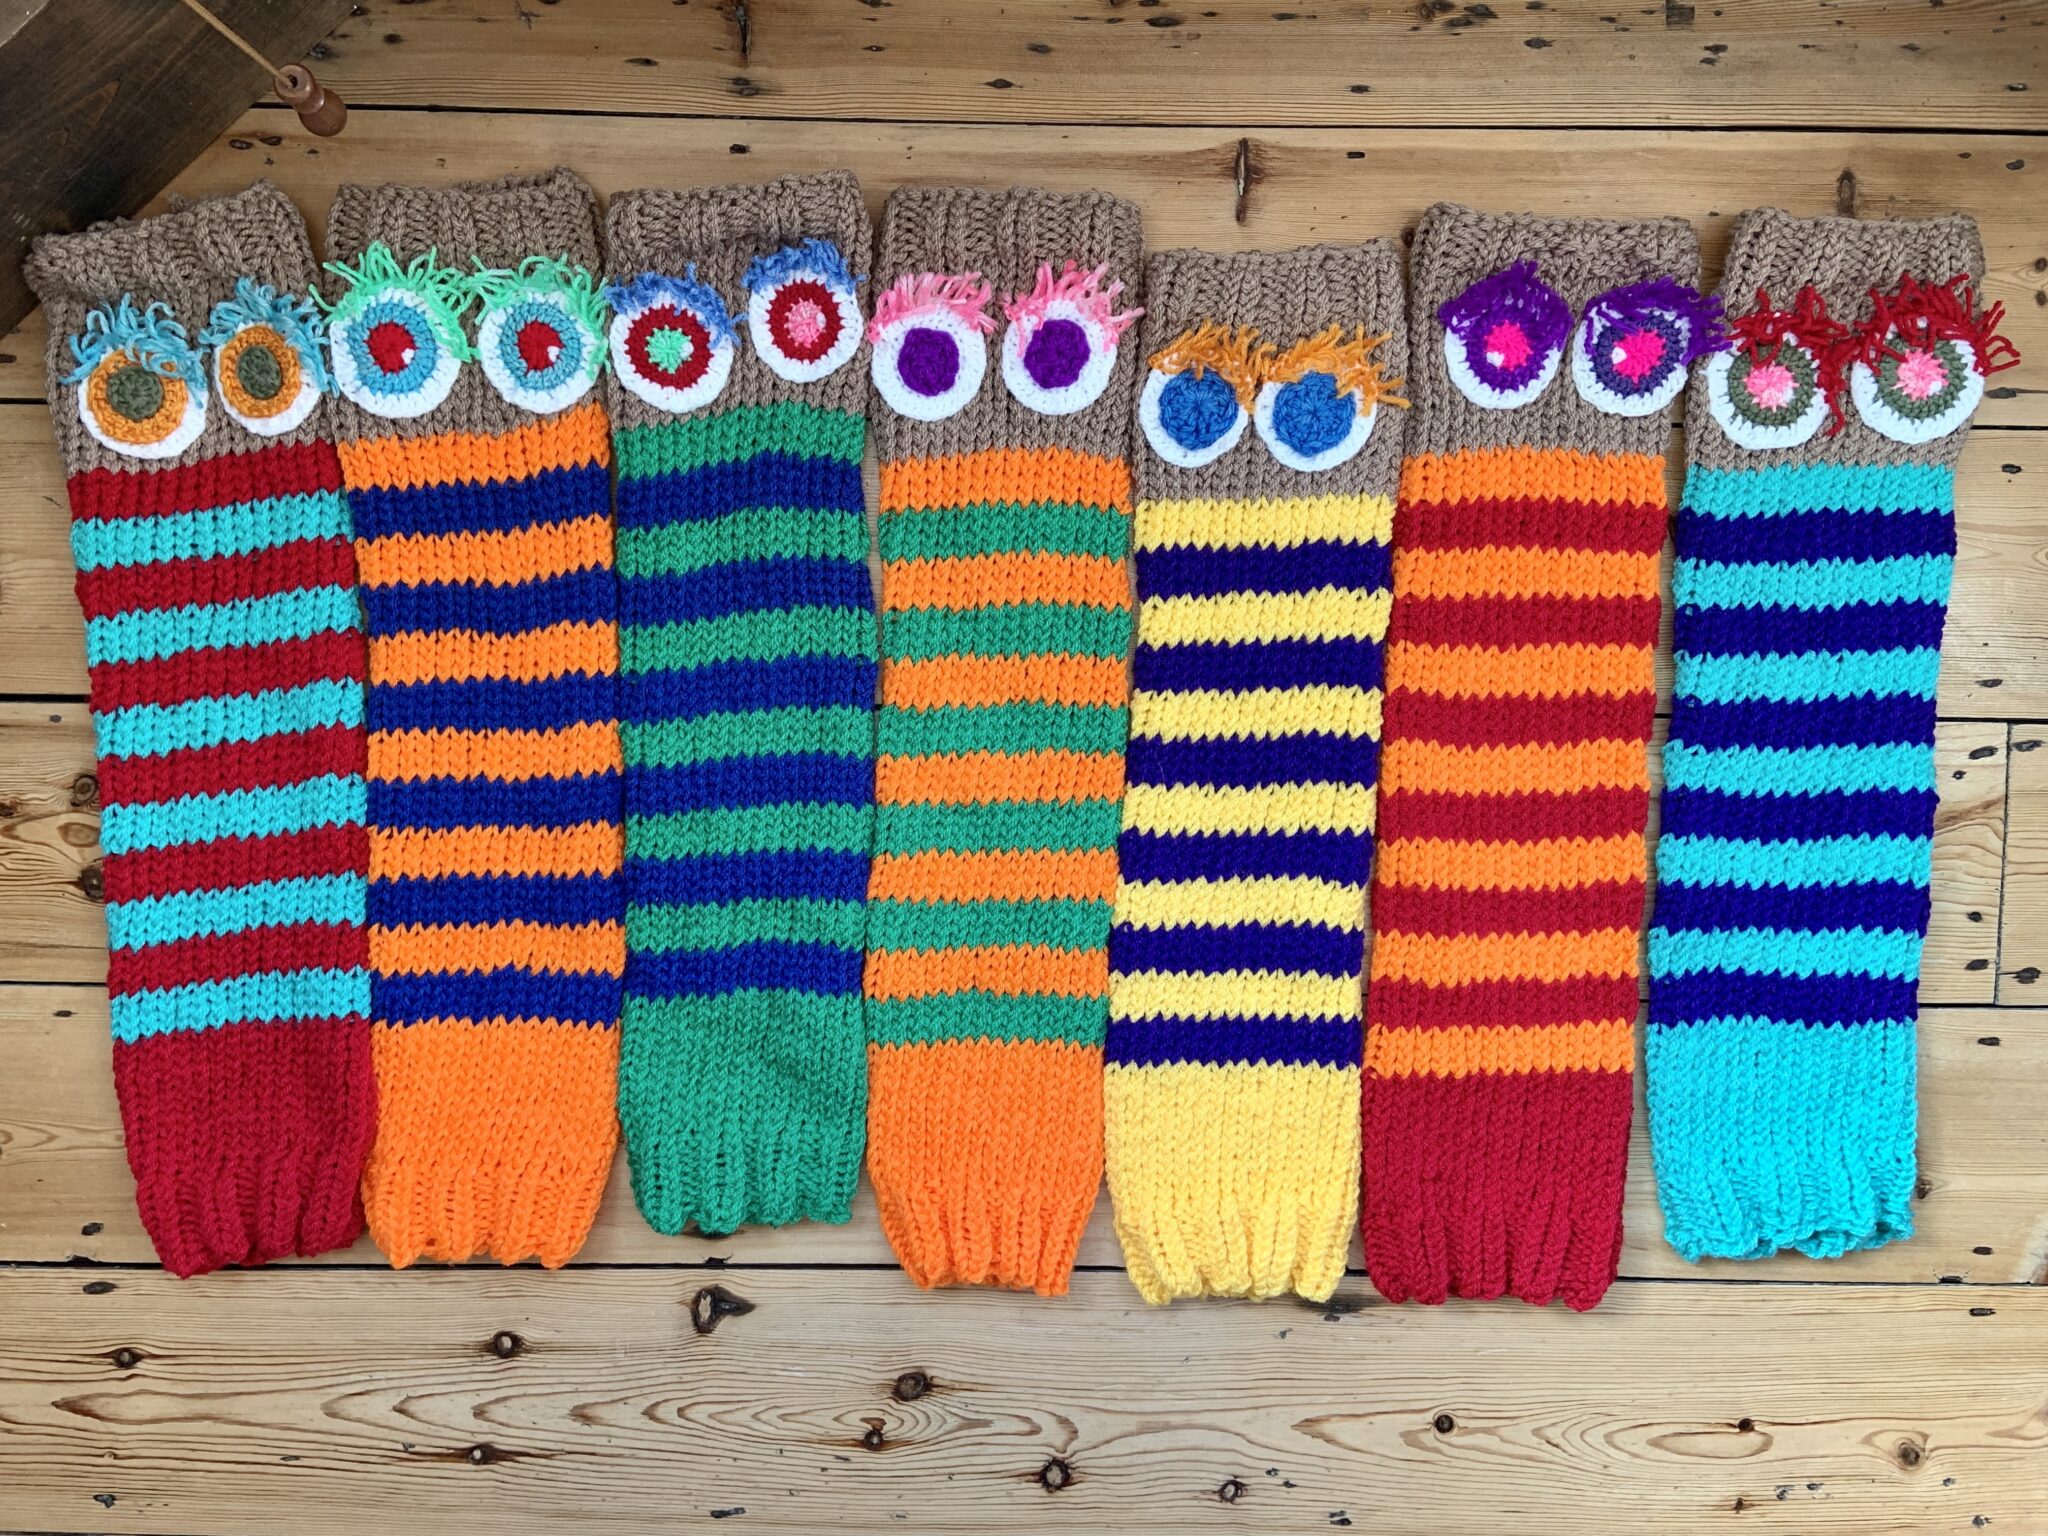
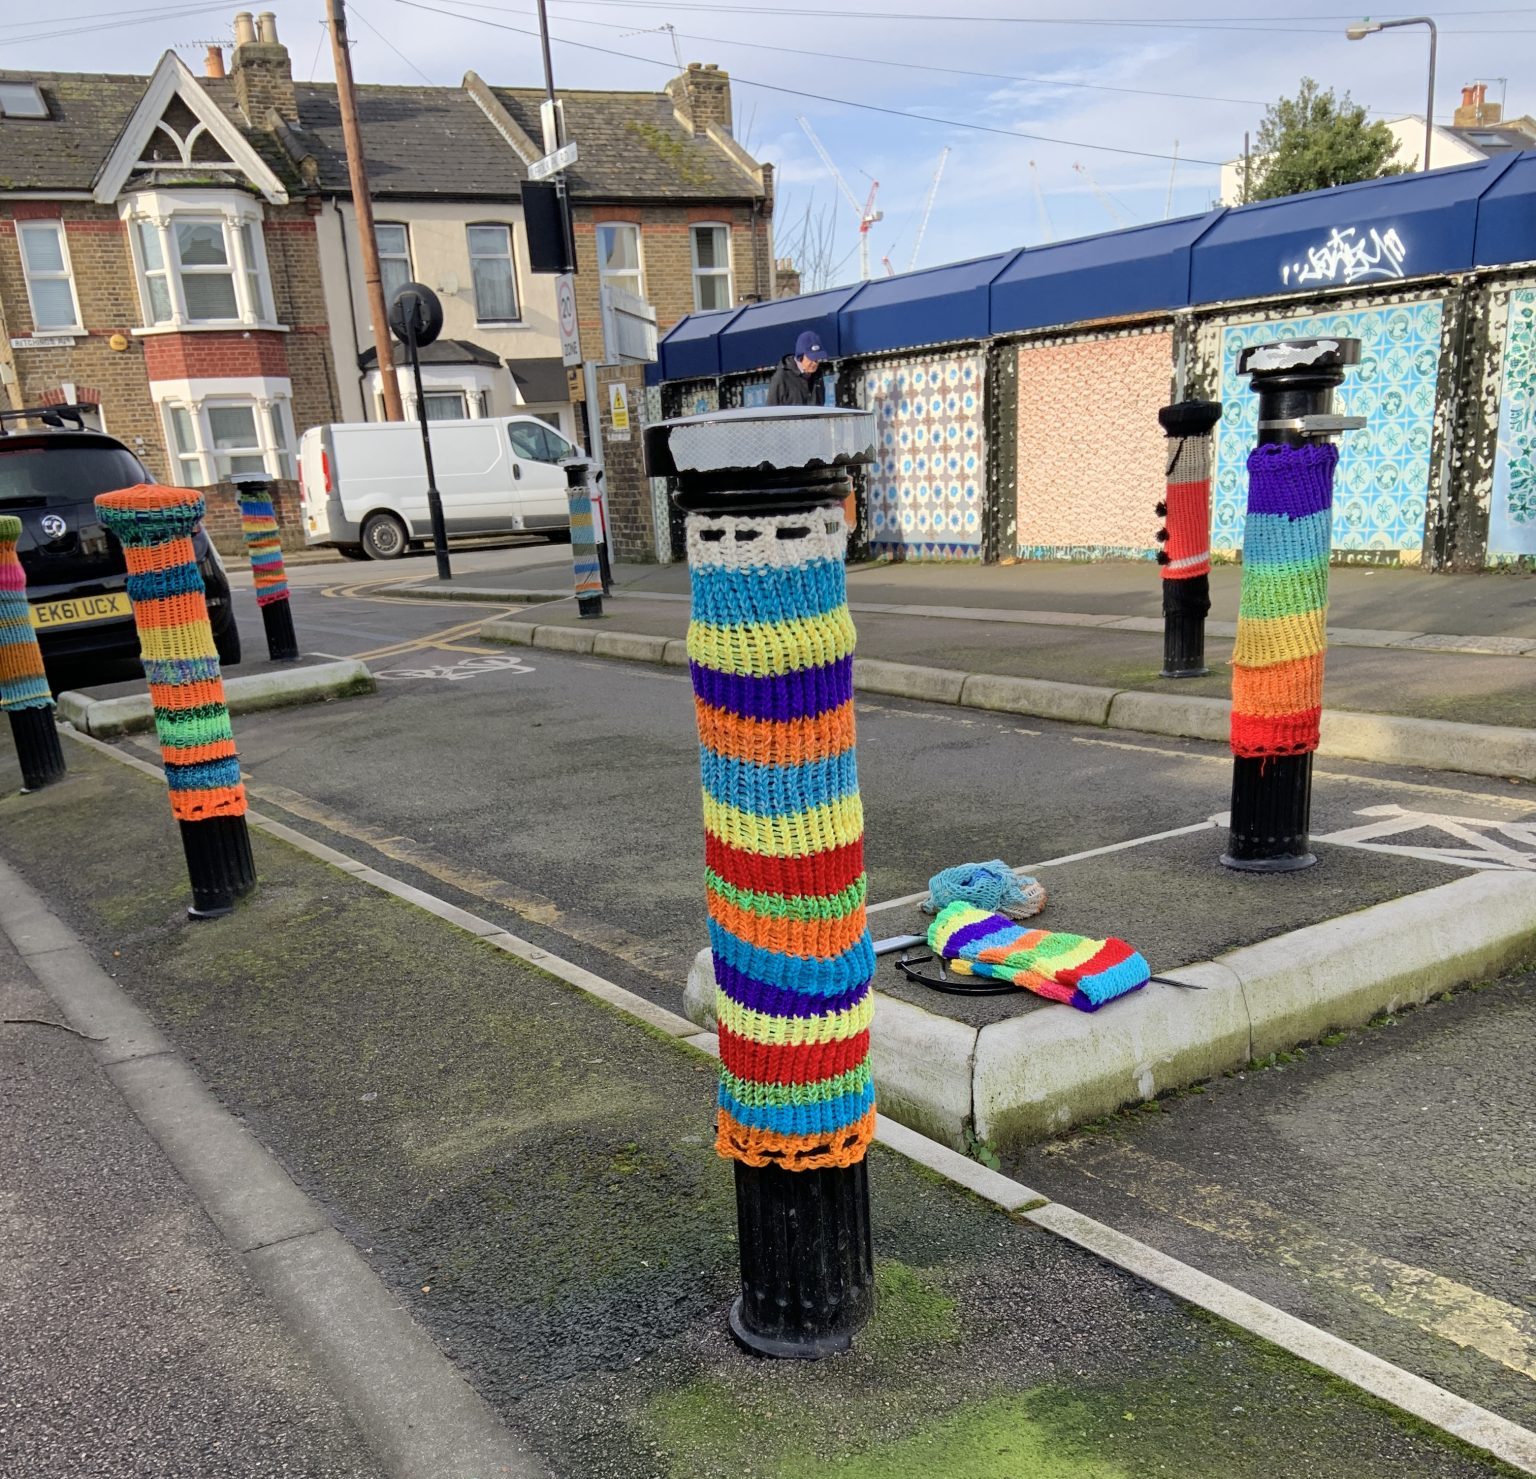
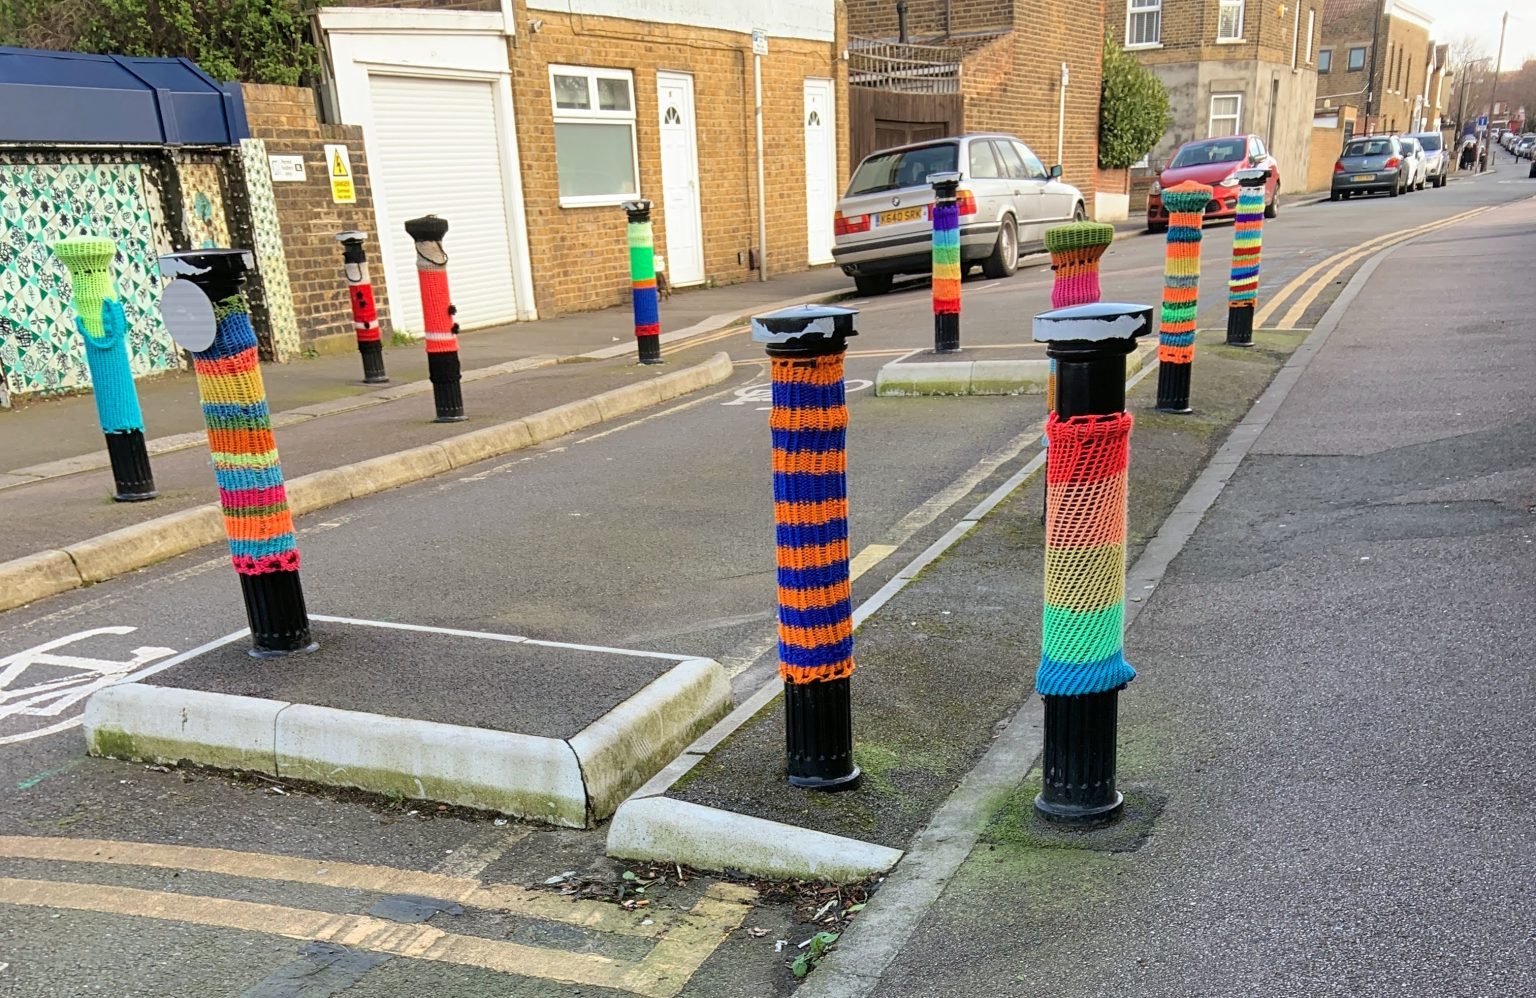
Use bright colours and make a long tube. It’s easy to change yarn colour (cut one yarn and tie on the next) to make stripes.
If your bollard has a reflective strip on the top you can’t cover that as it has a safety job. Make your bollard jumper about 100 rows long, including a few rows of ribbing at the start and end.
If you can cover the top of the bollard, then make the tube about another 30 rows long. You don’t need to do ribbing at the end and can cast off/bind off in the same way as the simple hat instructions (watch the video from about 22 minutes).
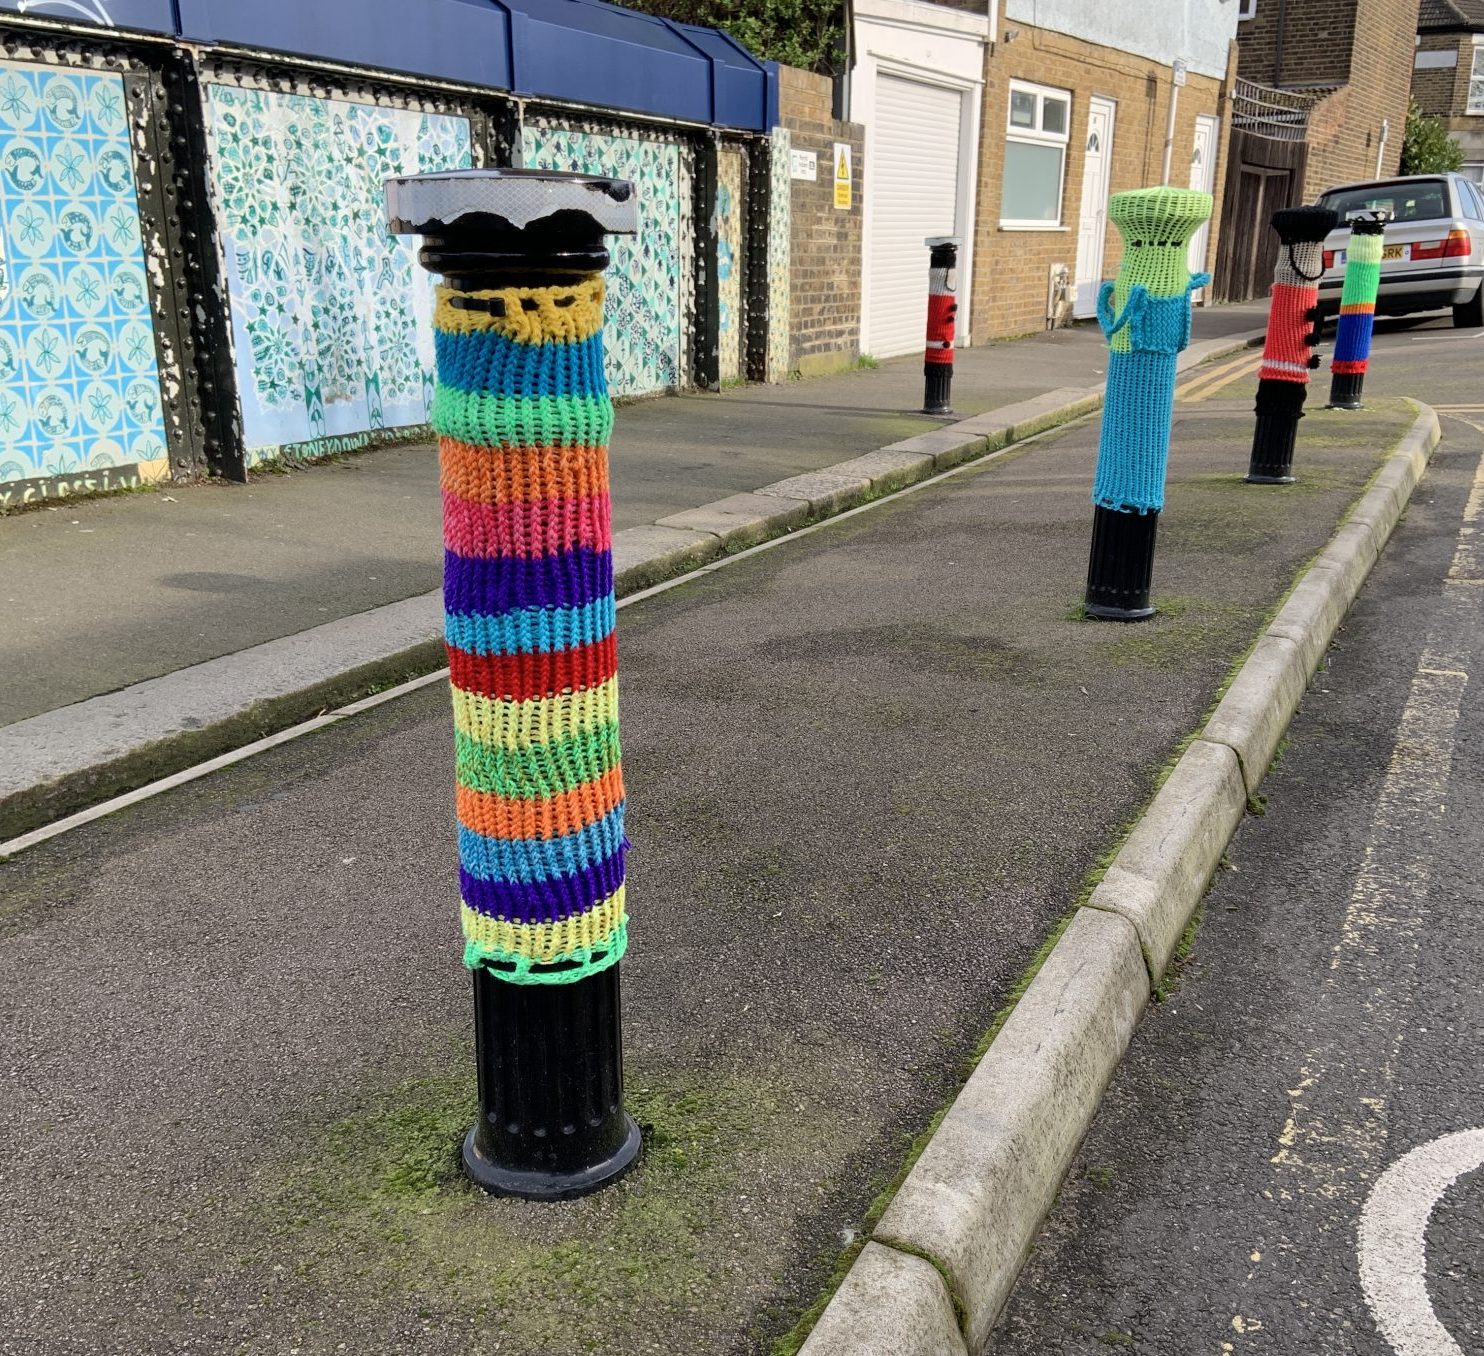
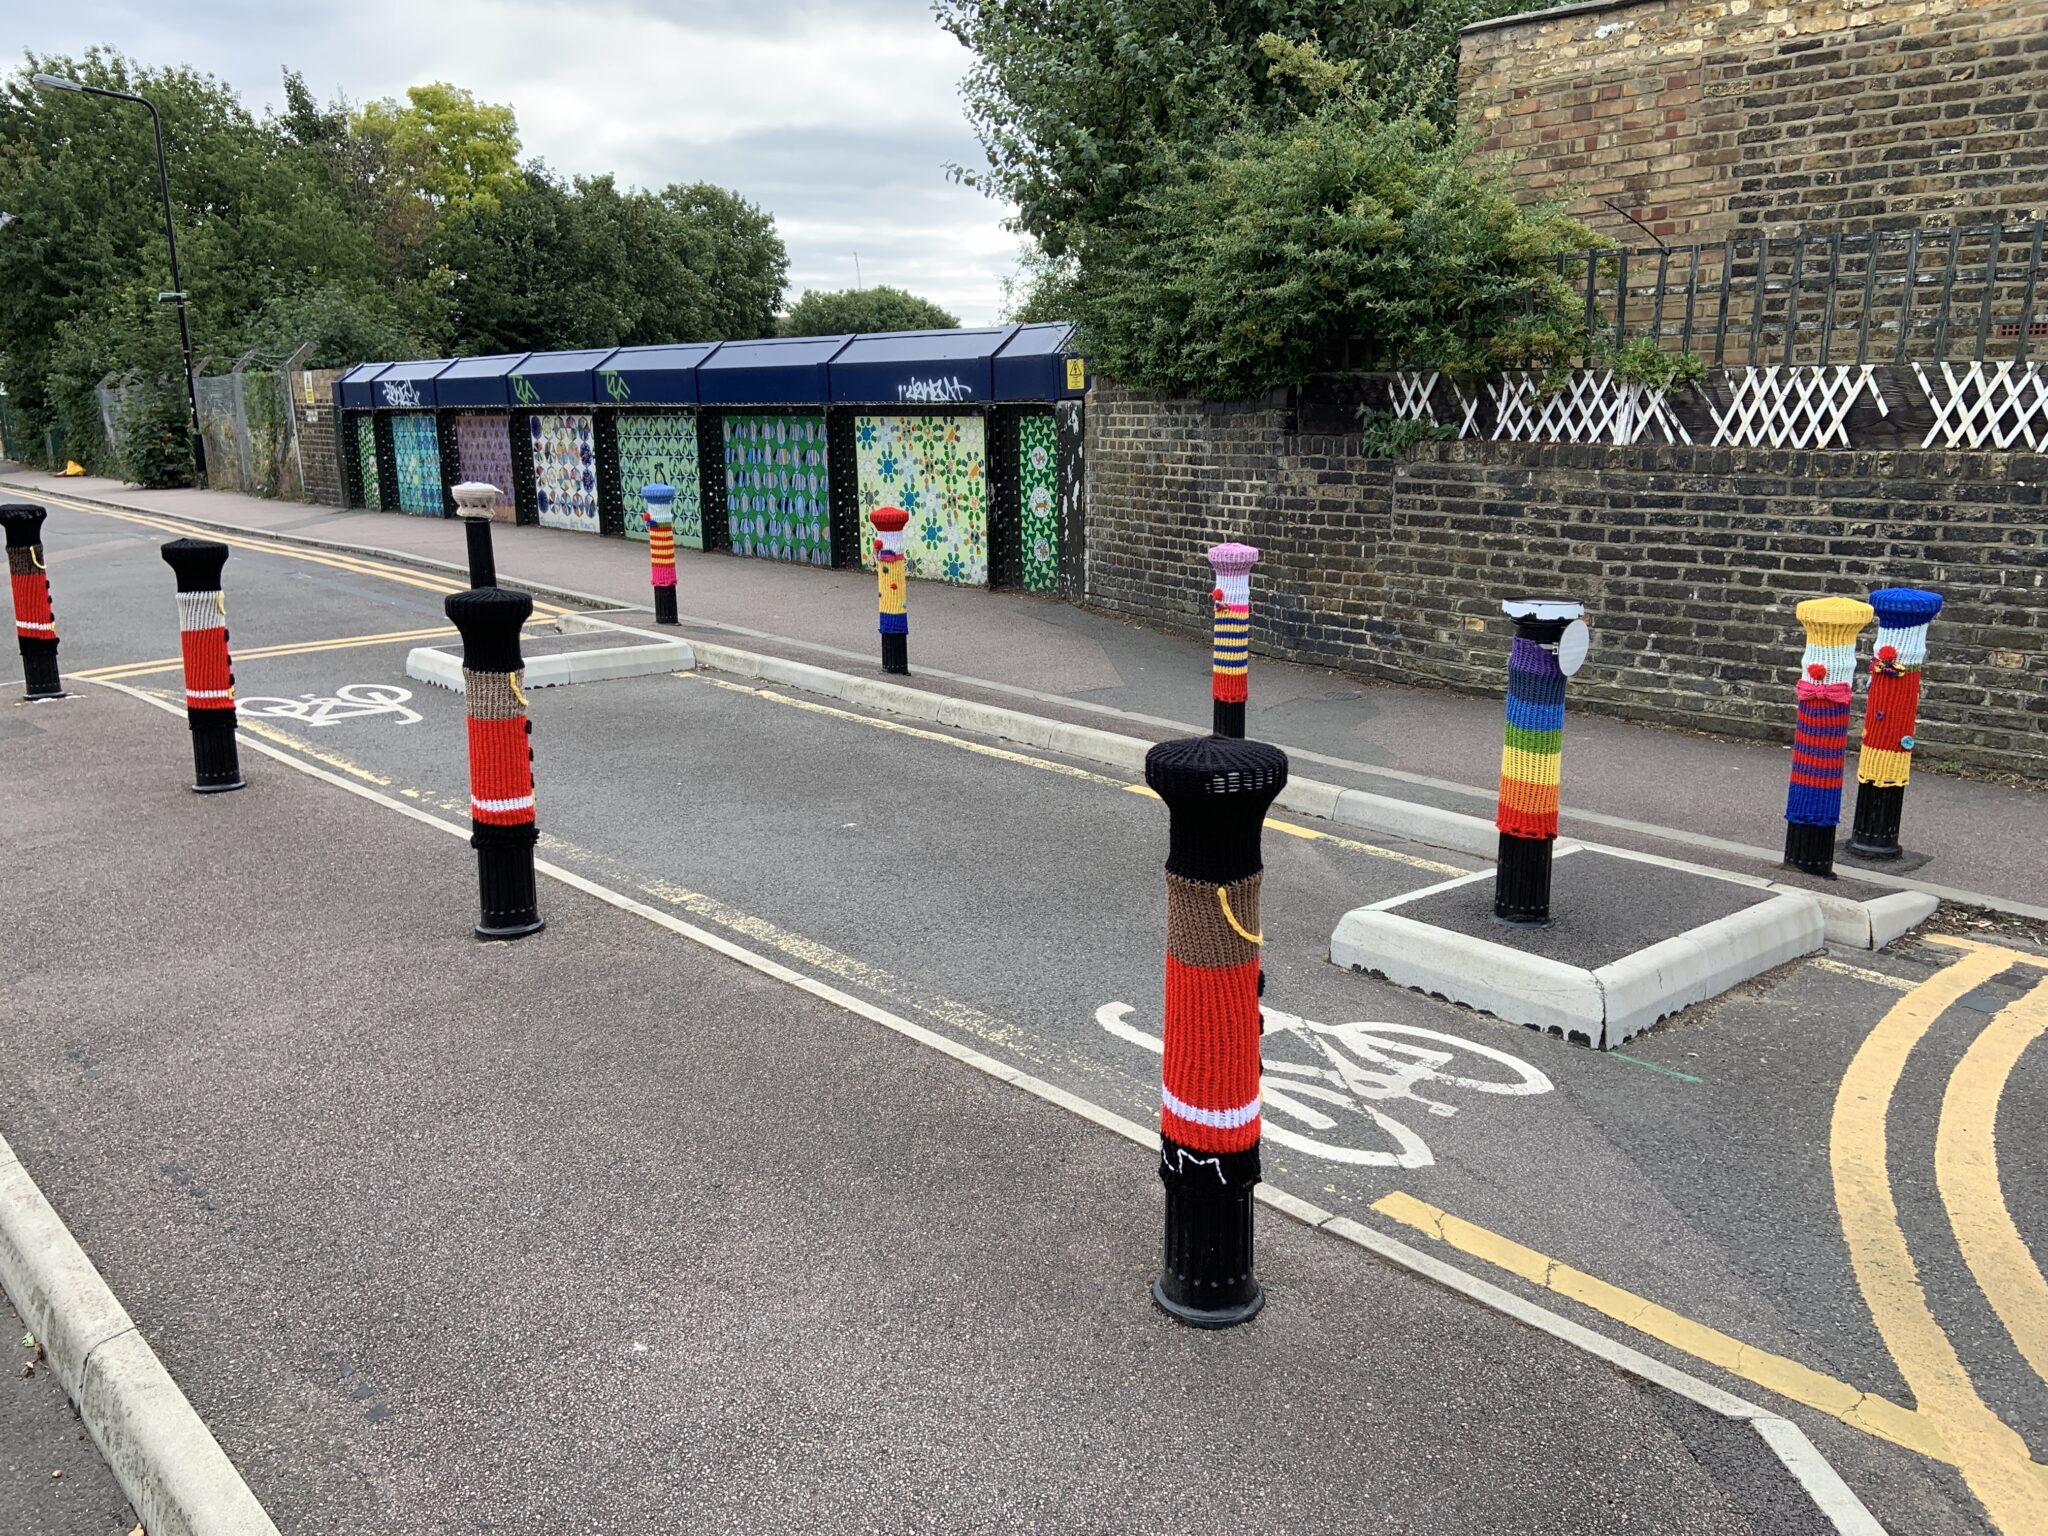
My Favourite Designs
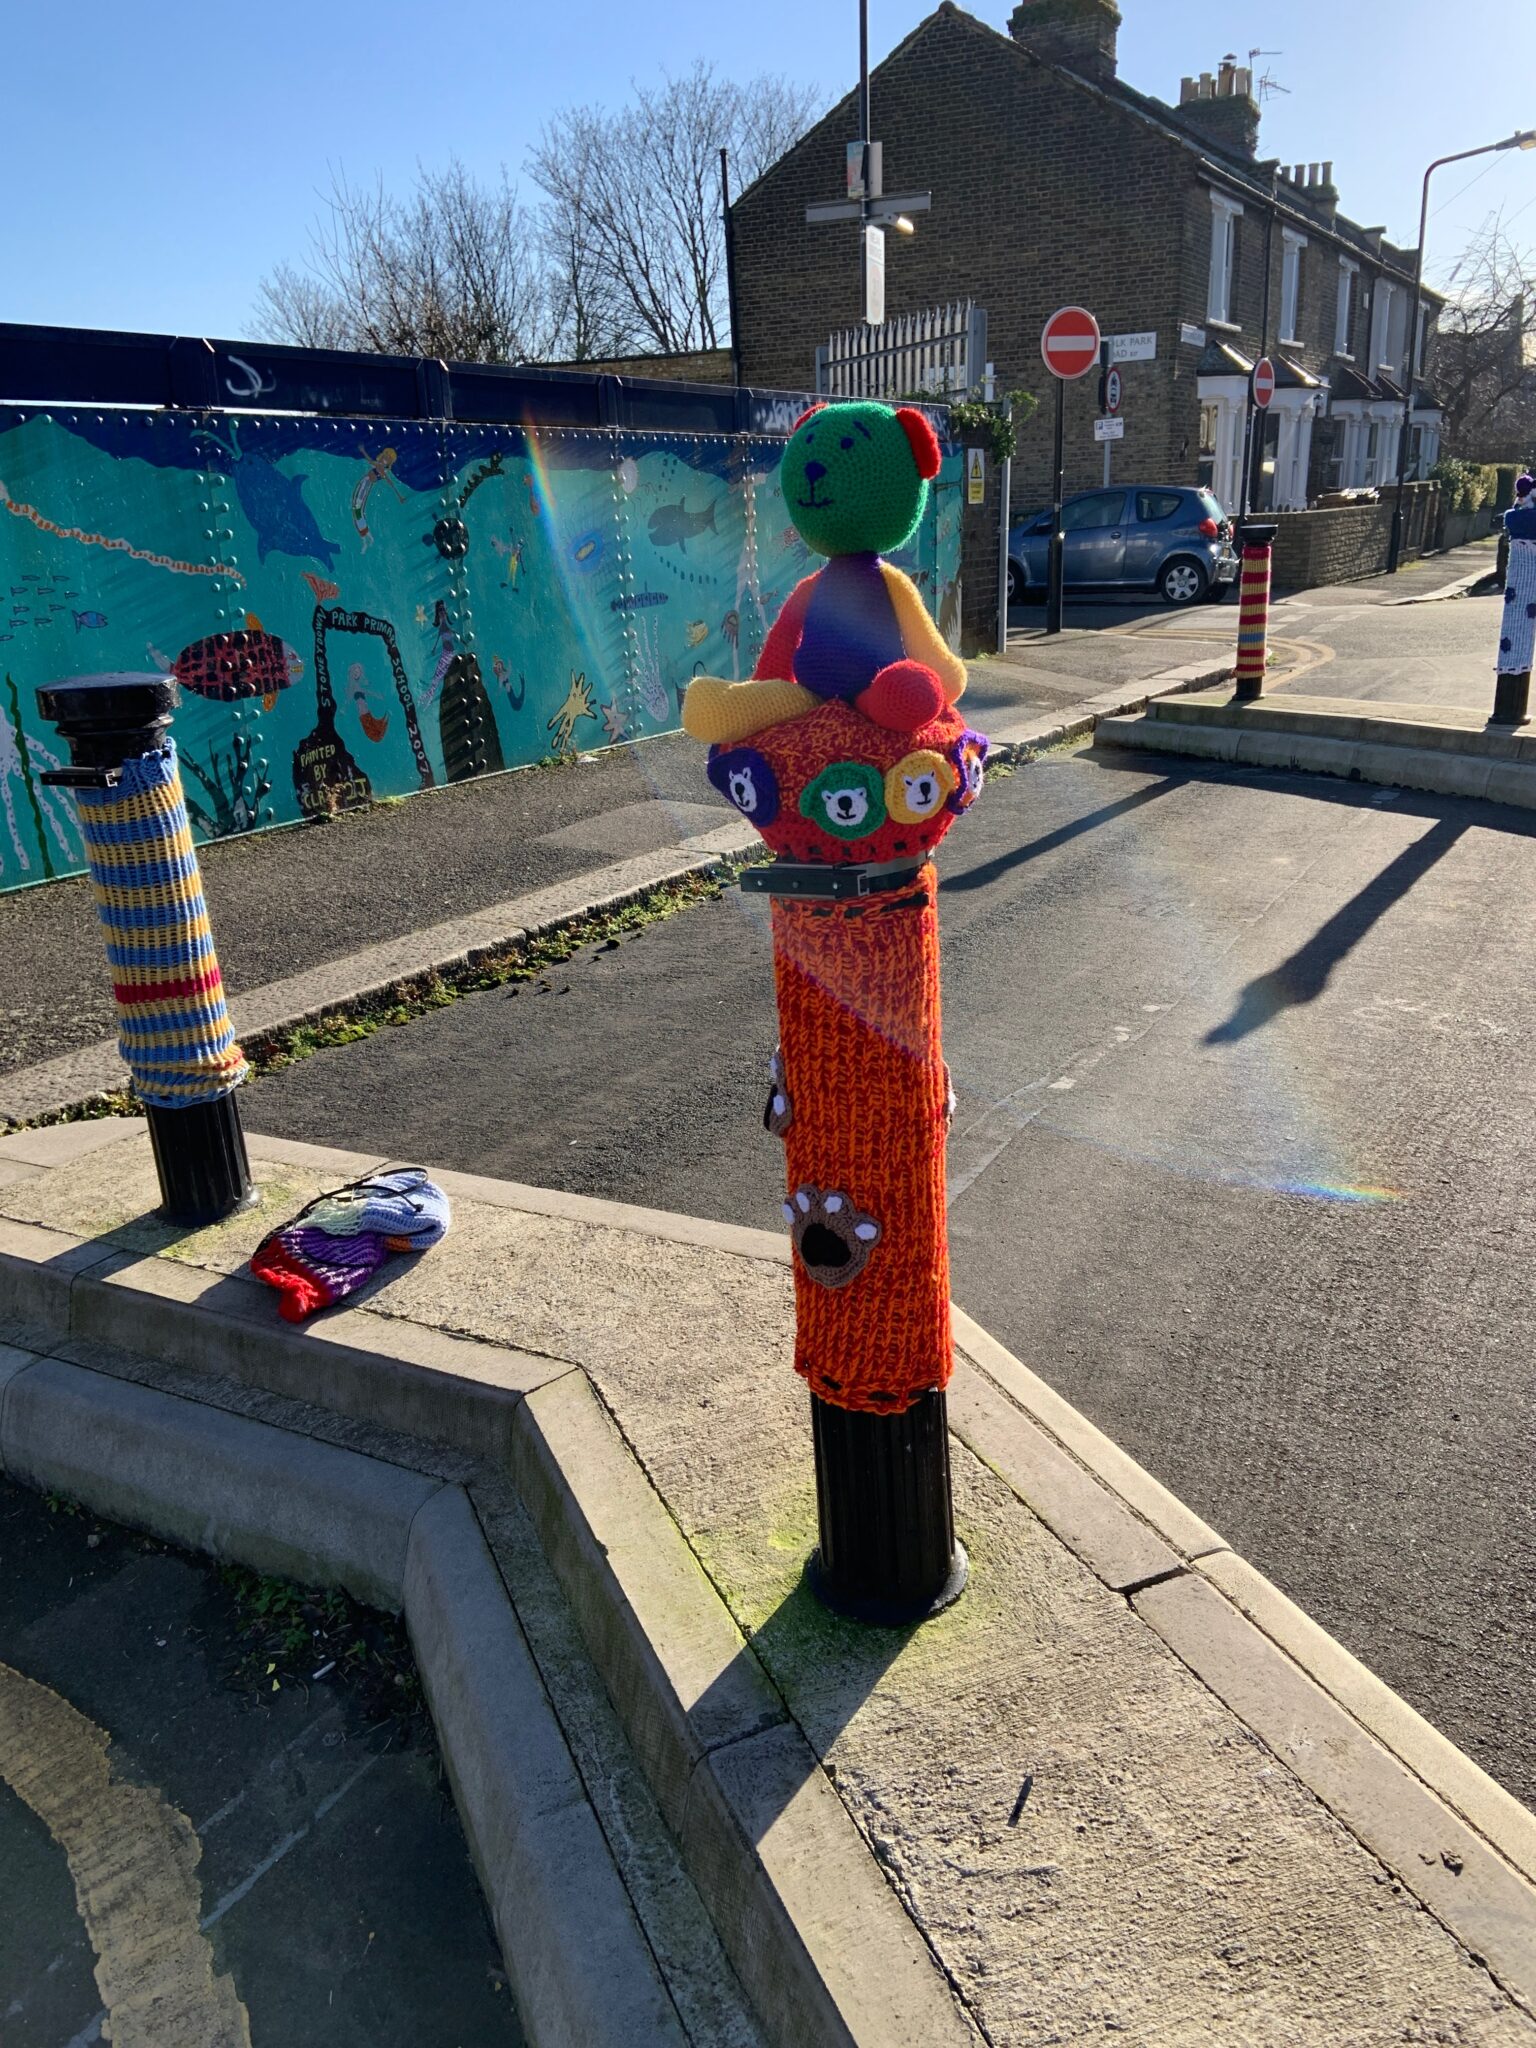
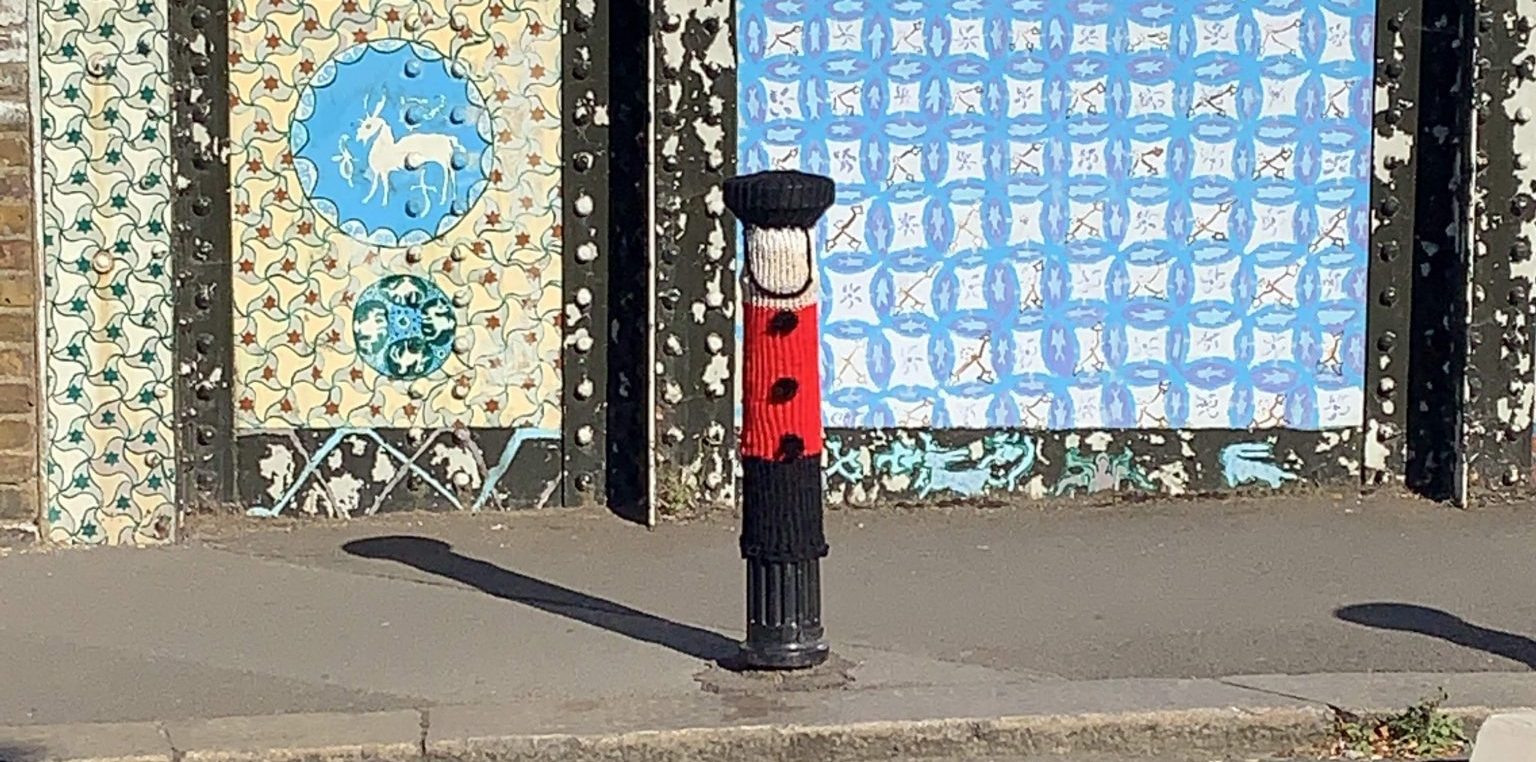
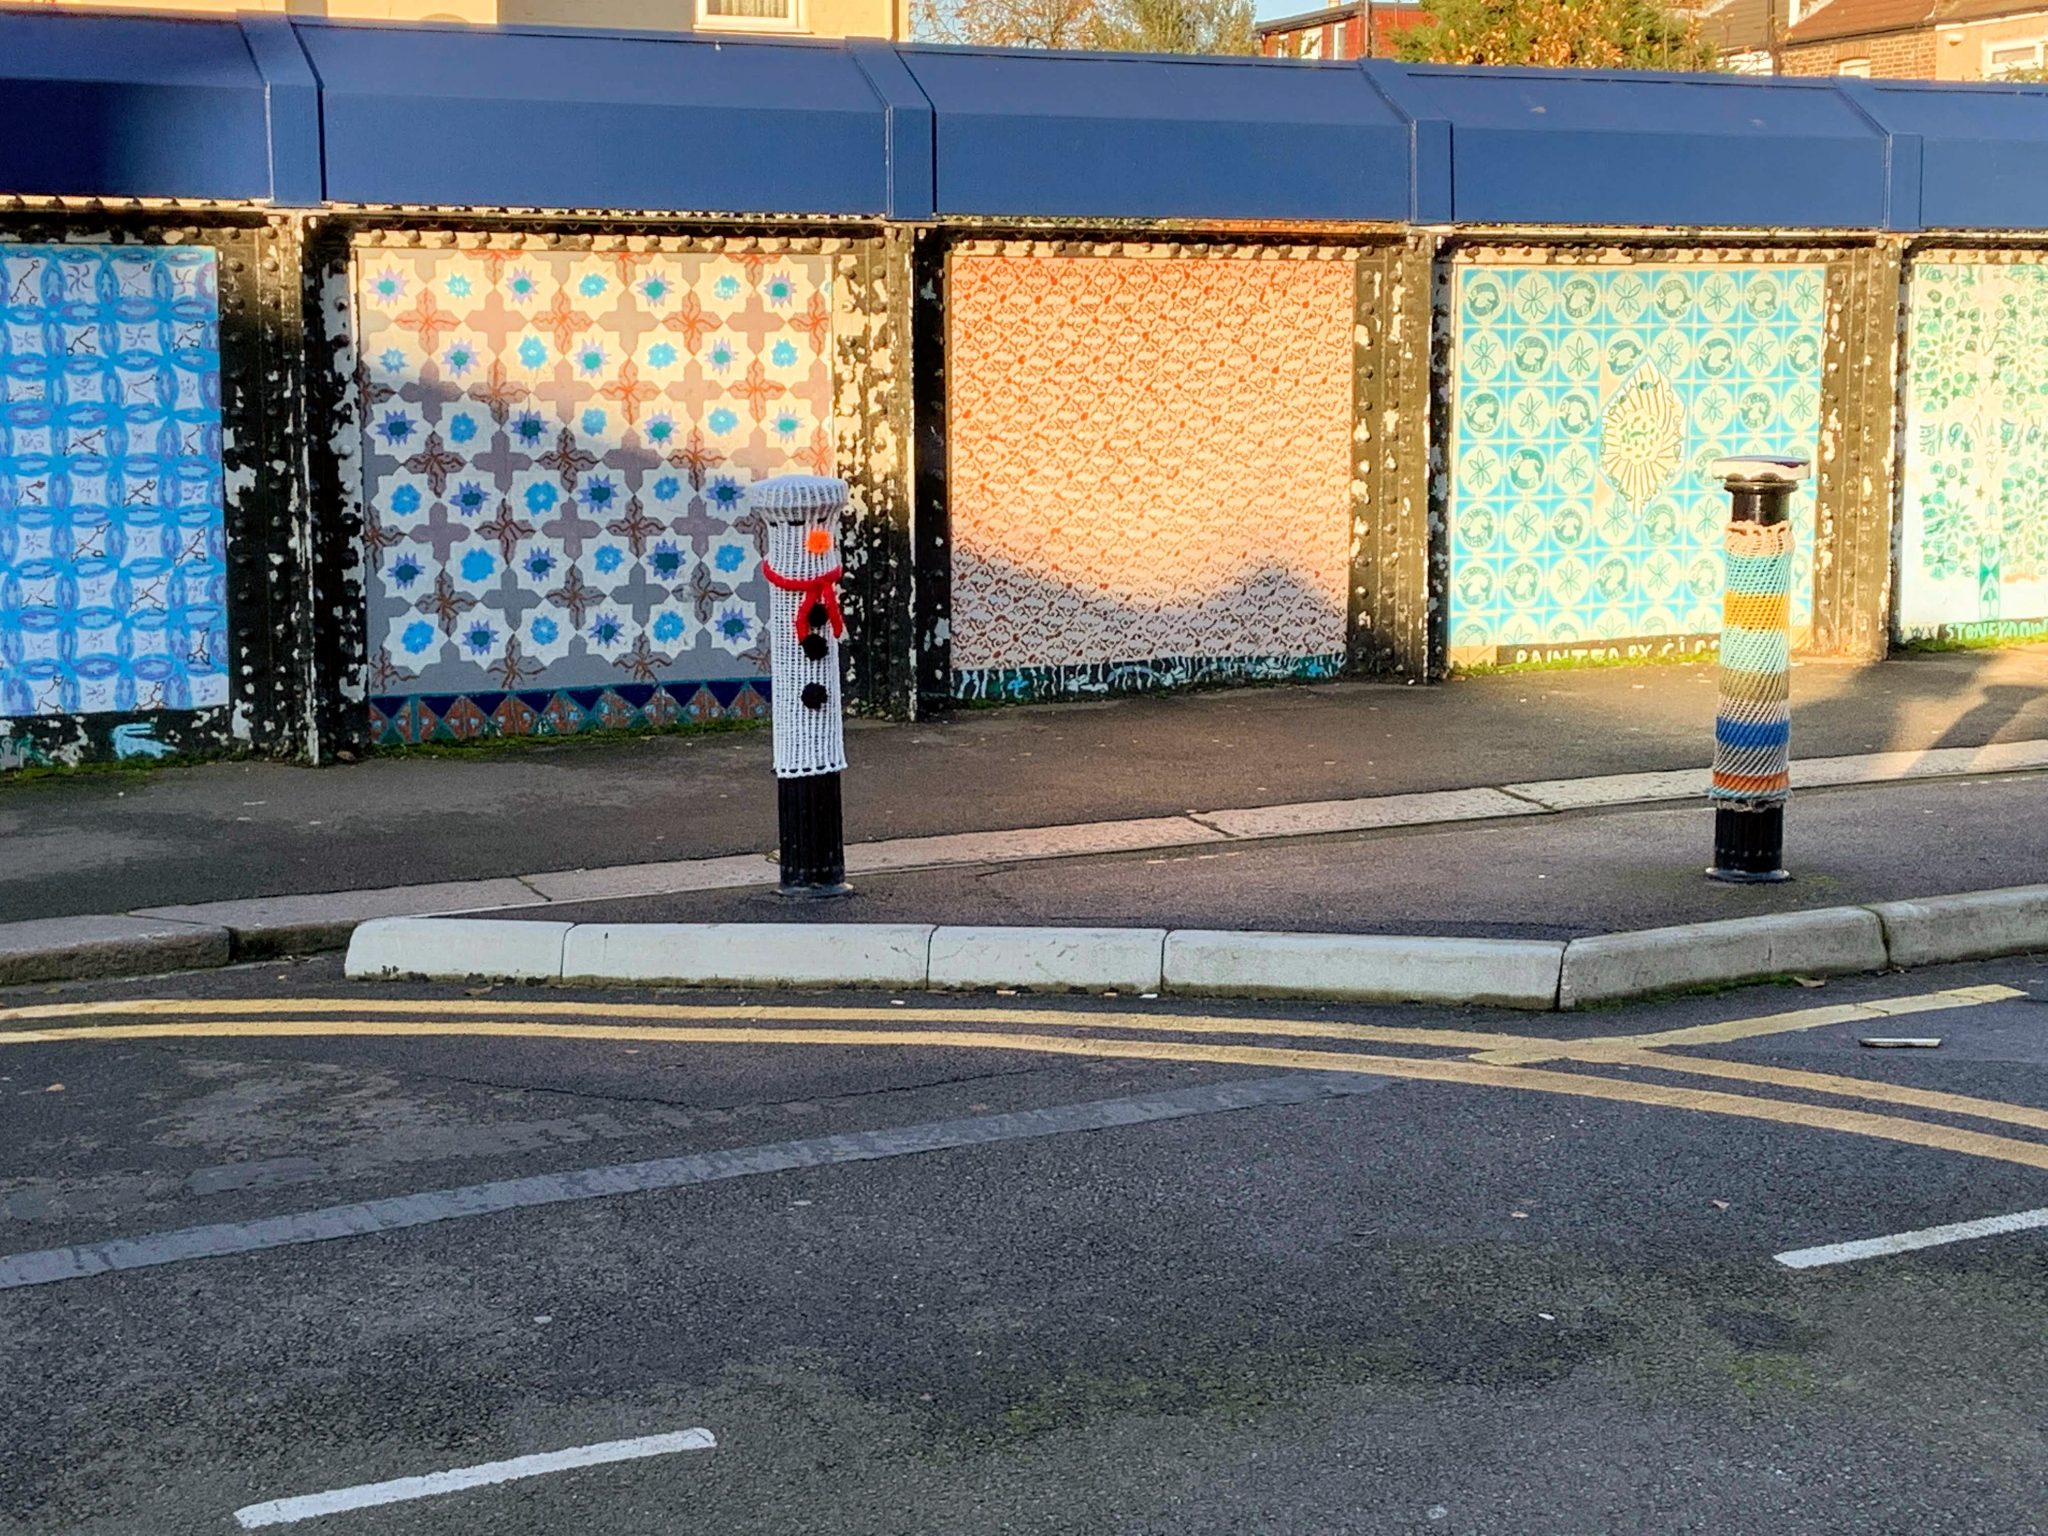
My favourites so far have been the rainbow stripes and the ‘Buckingham Palace guards’. I added pom pom balls for buttons. Don’t add anything that could hurt a toddler as the bollards are at their grabbing height.
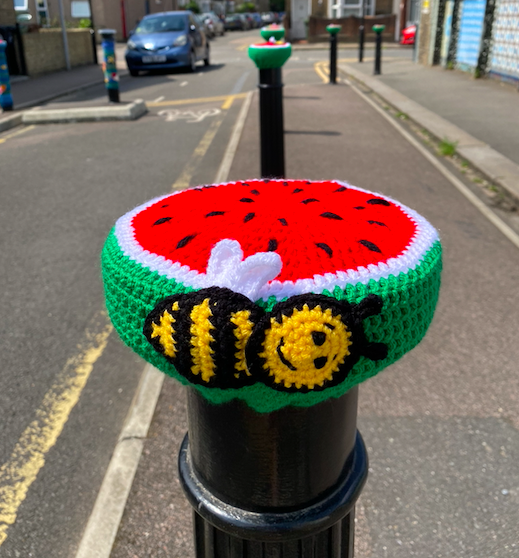
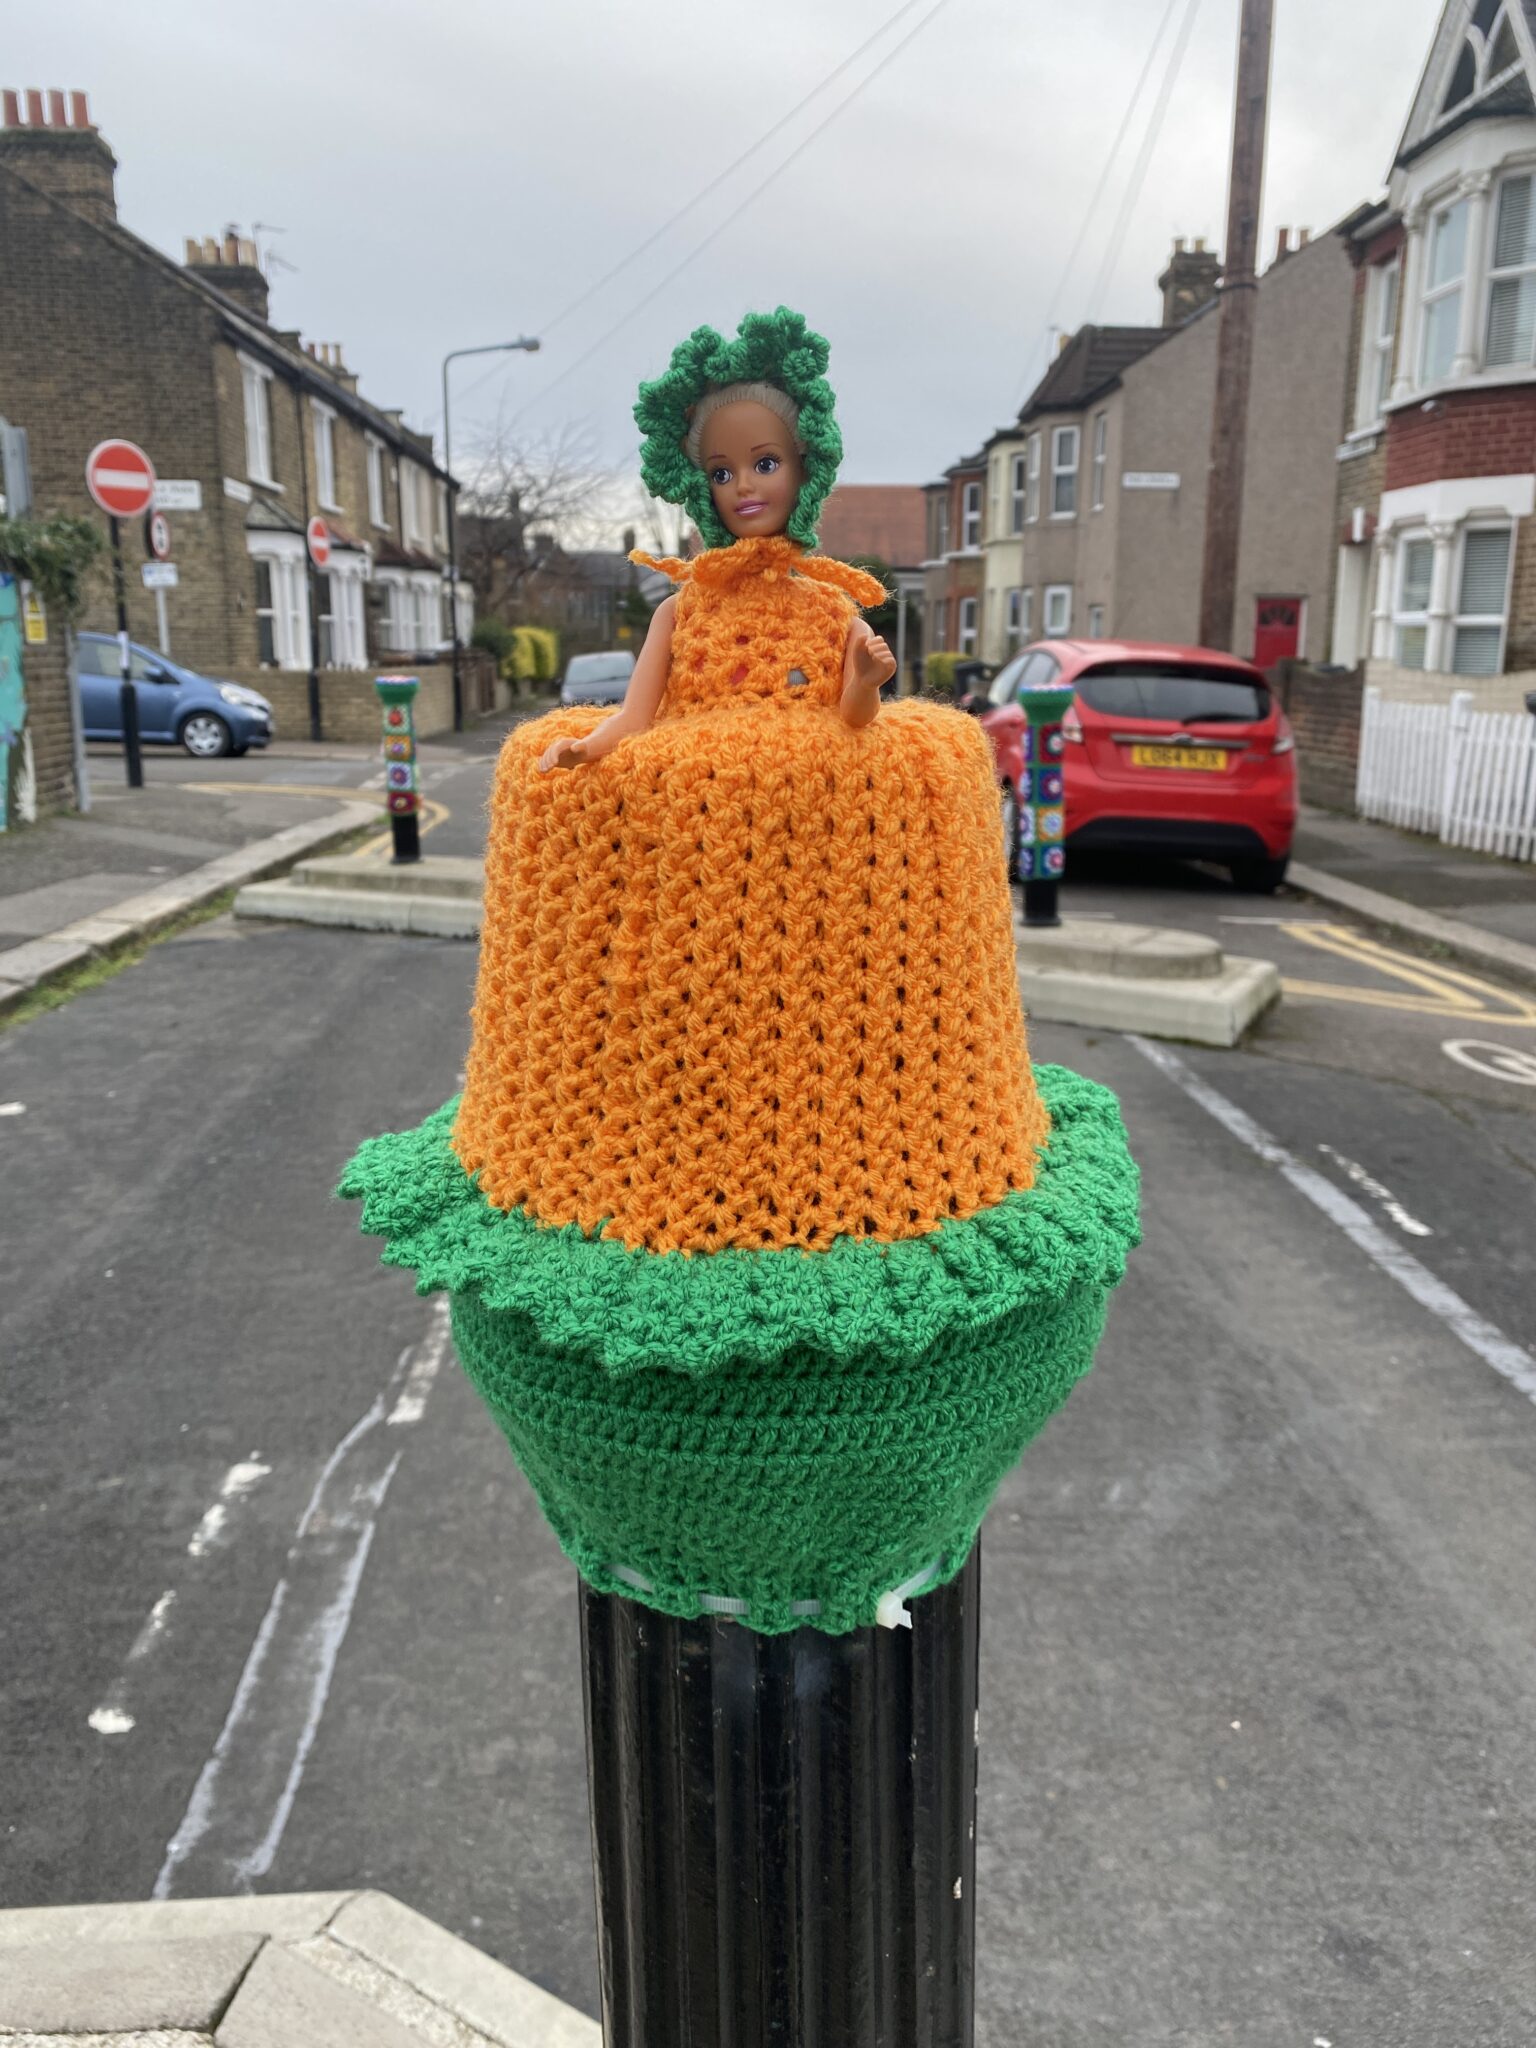
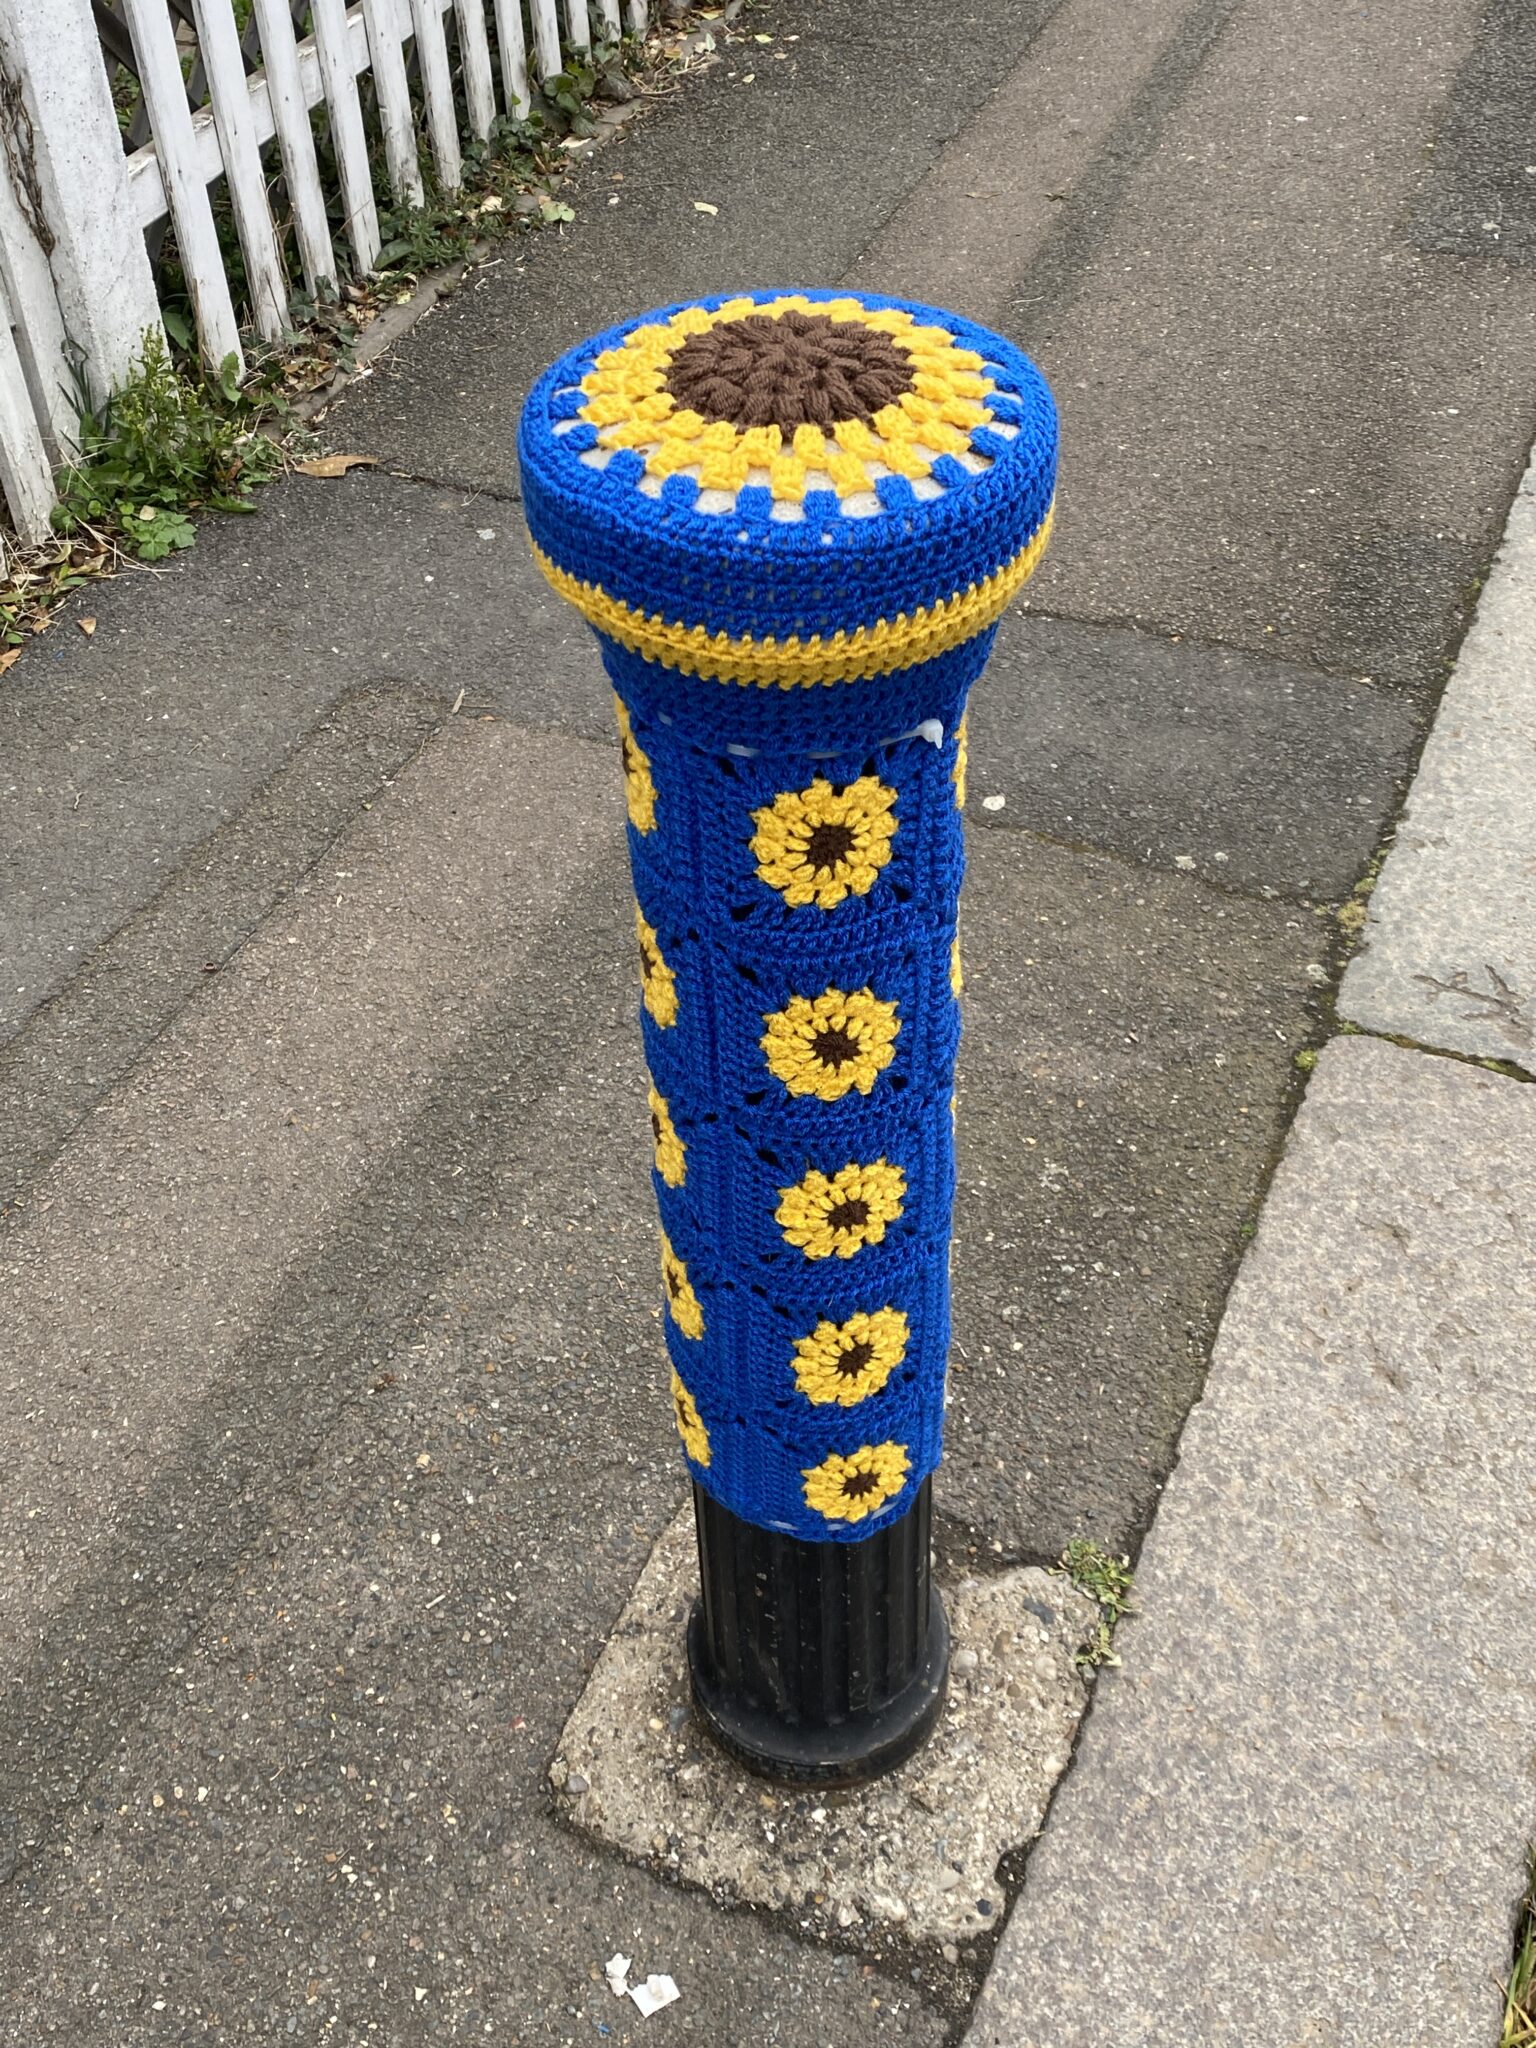
I’ve also learned to crochet so make bollard toppers.
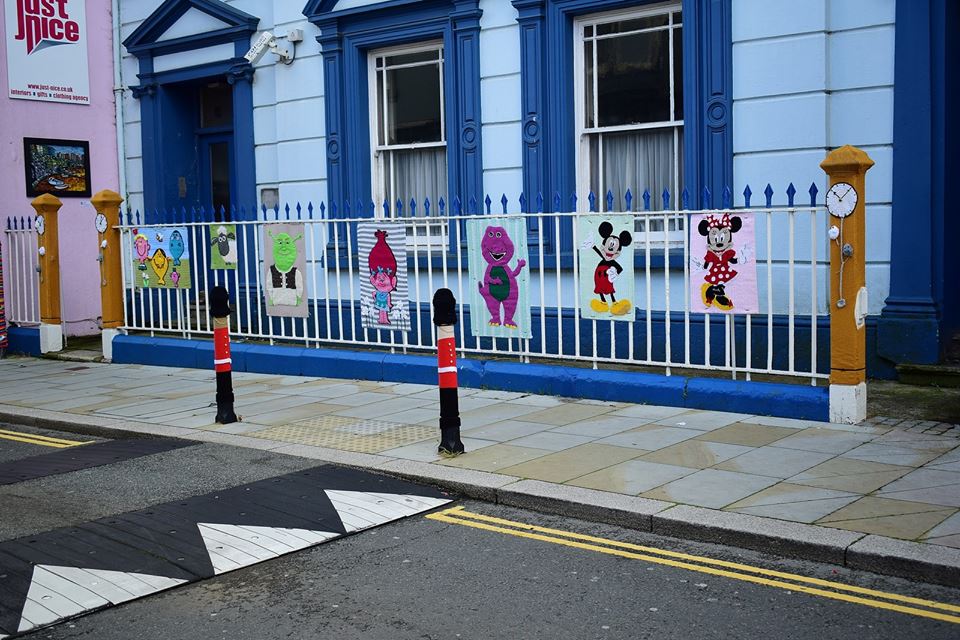
The guards were inspired by the creative work of the yarn-bombers in Haverfordwest, west Wales.
Not all designs are successful as this is as close to a Minion…
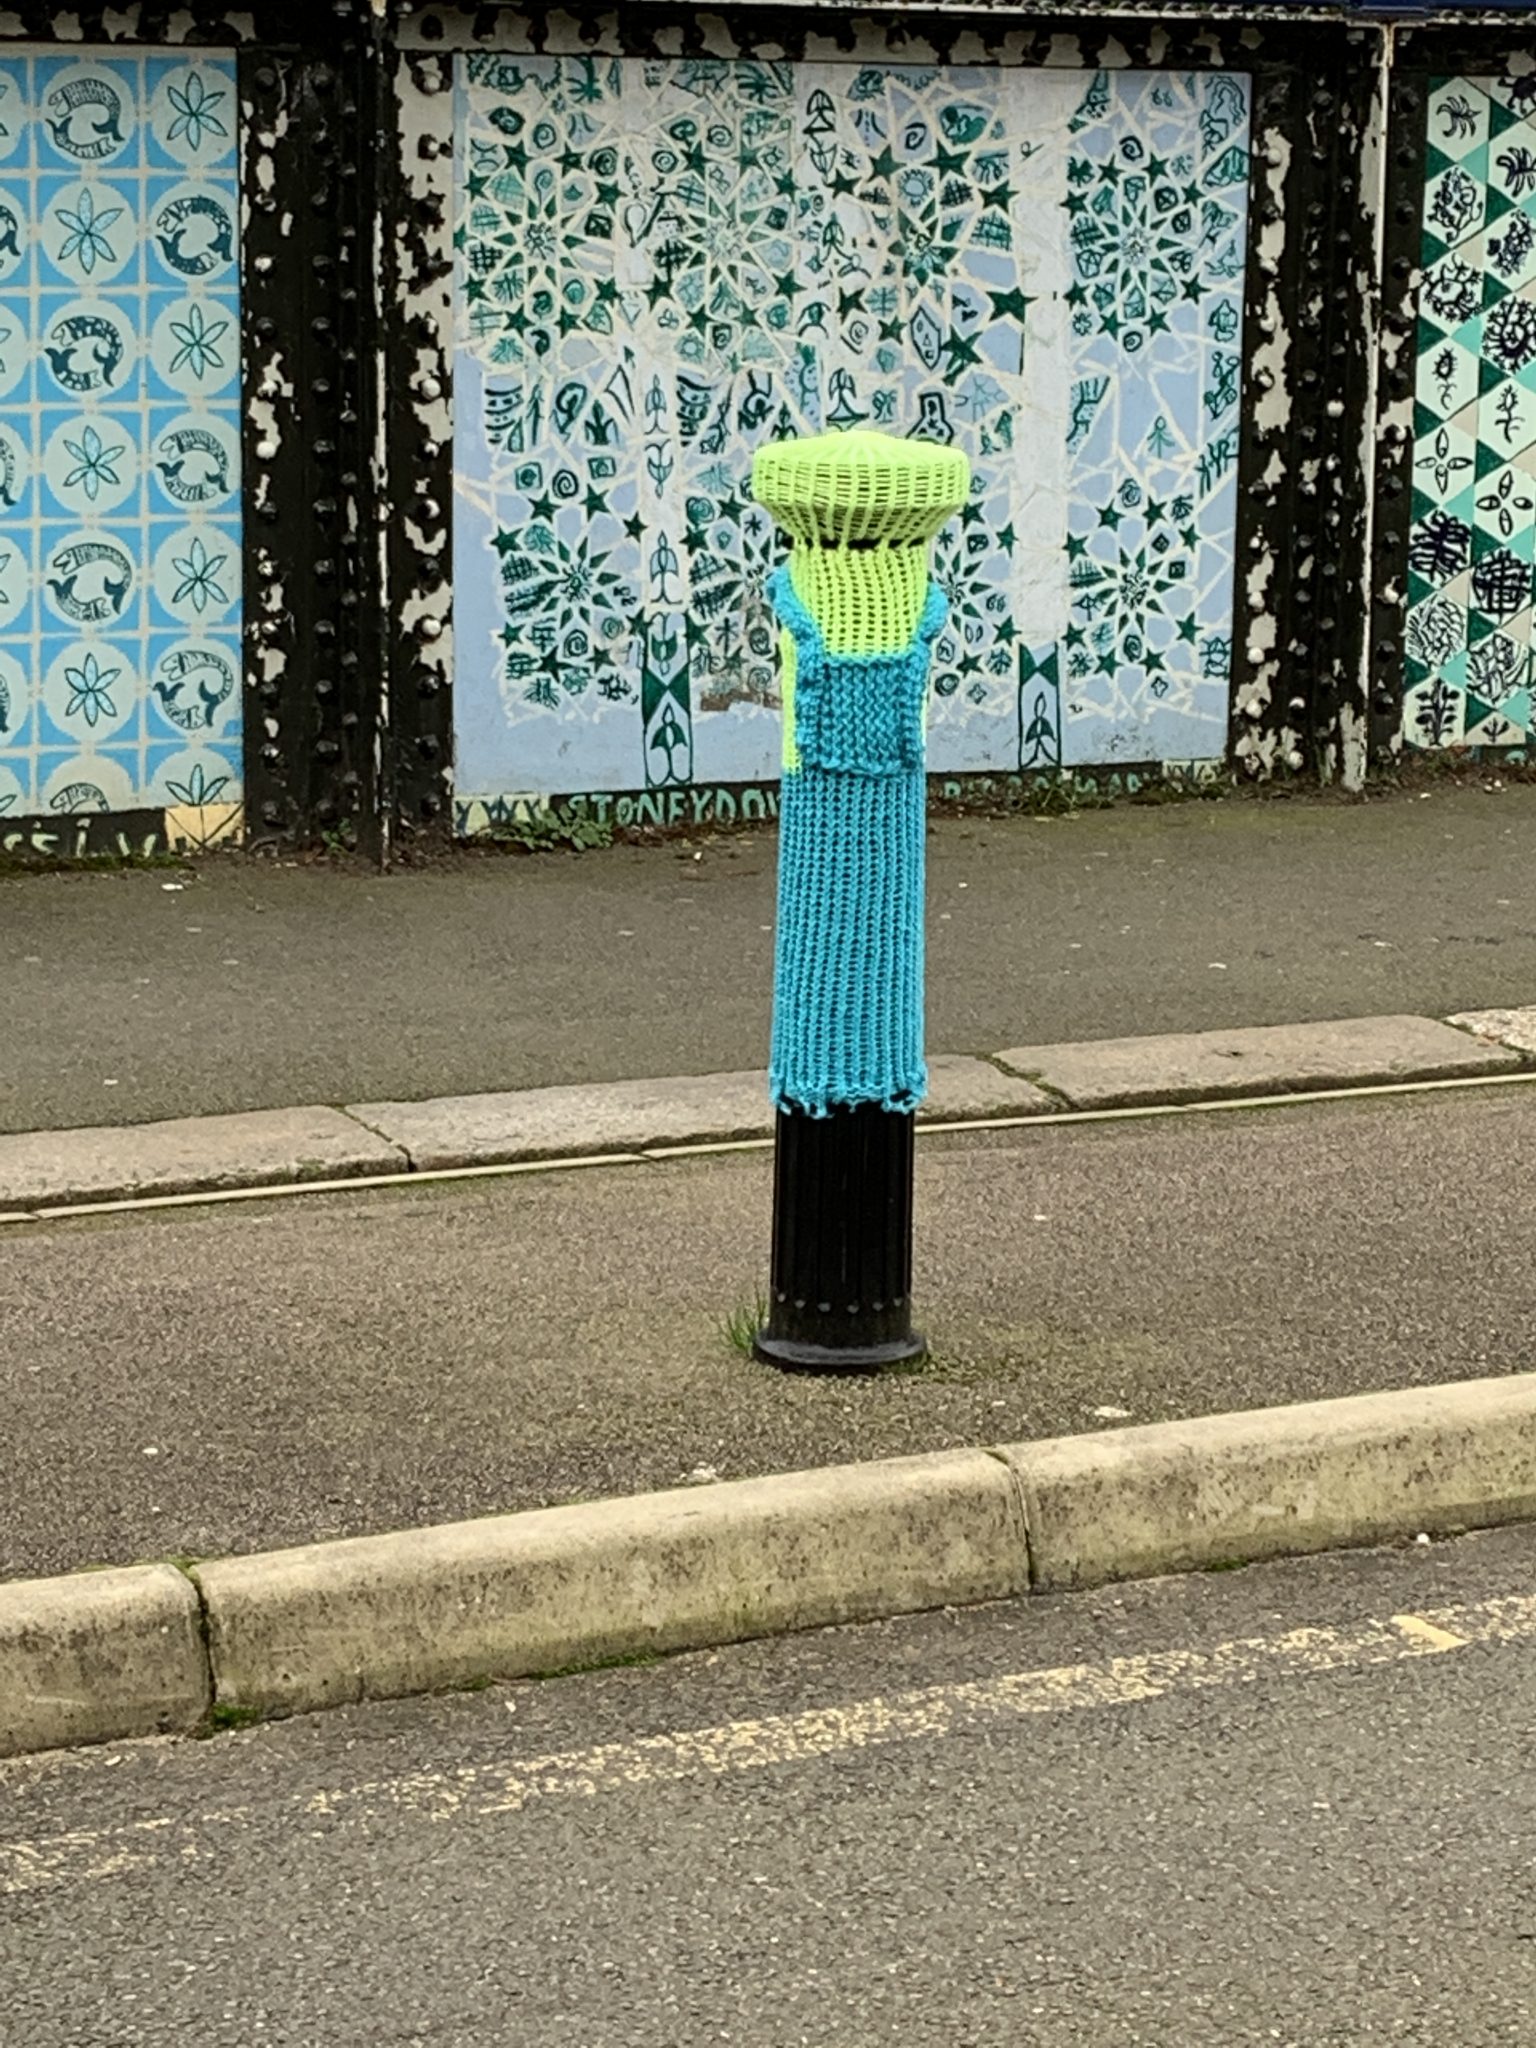
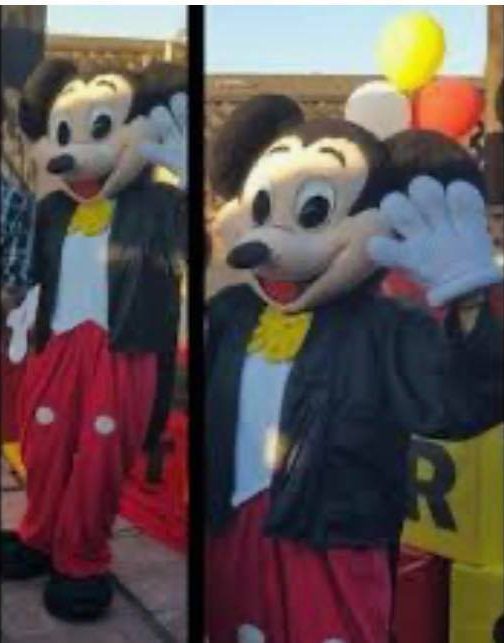
…as this is to Mickey Mouse. Or maybe even less.
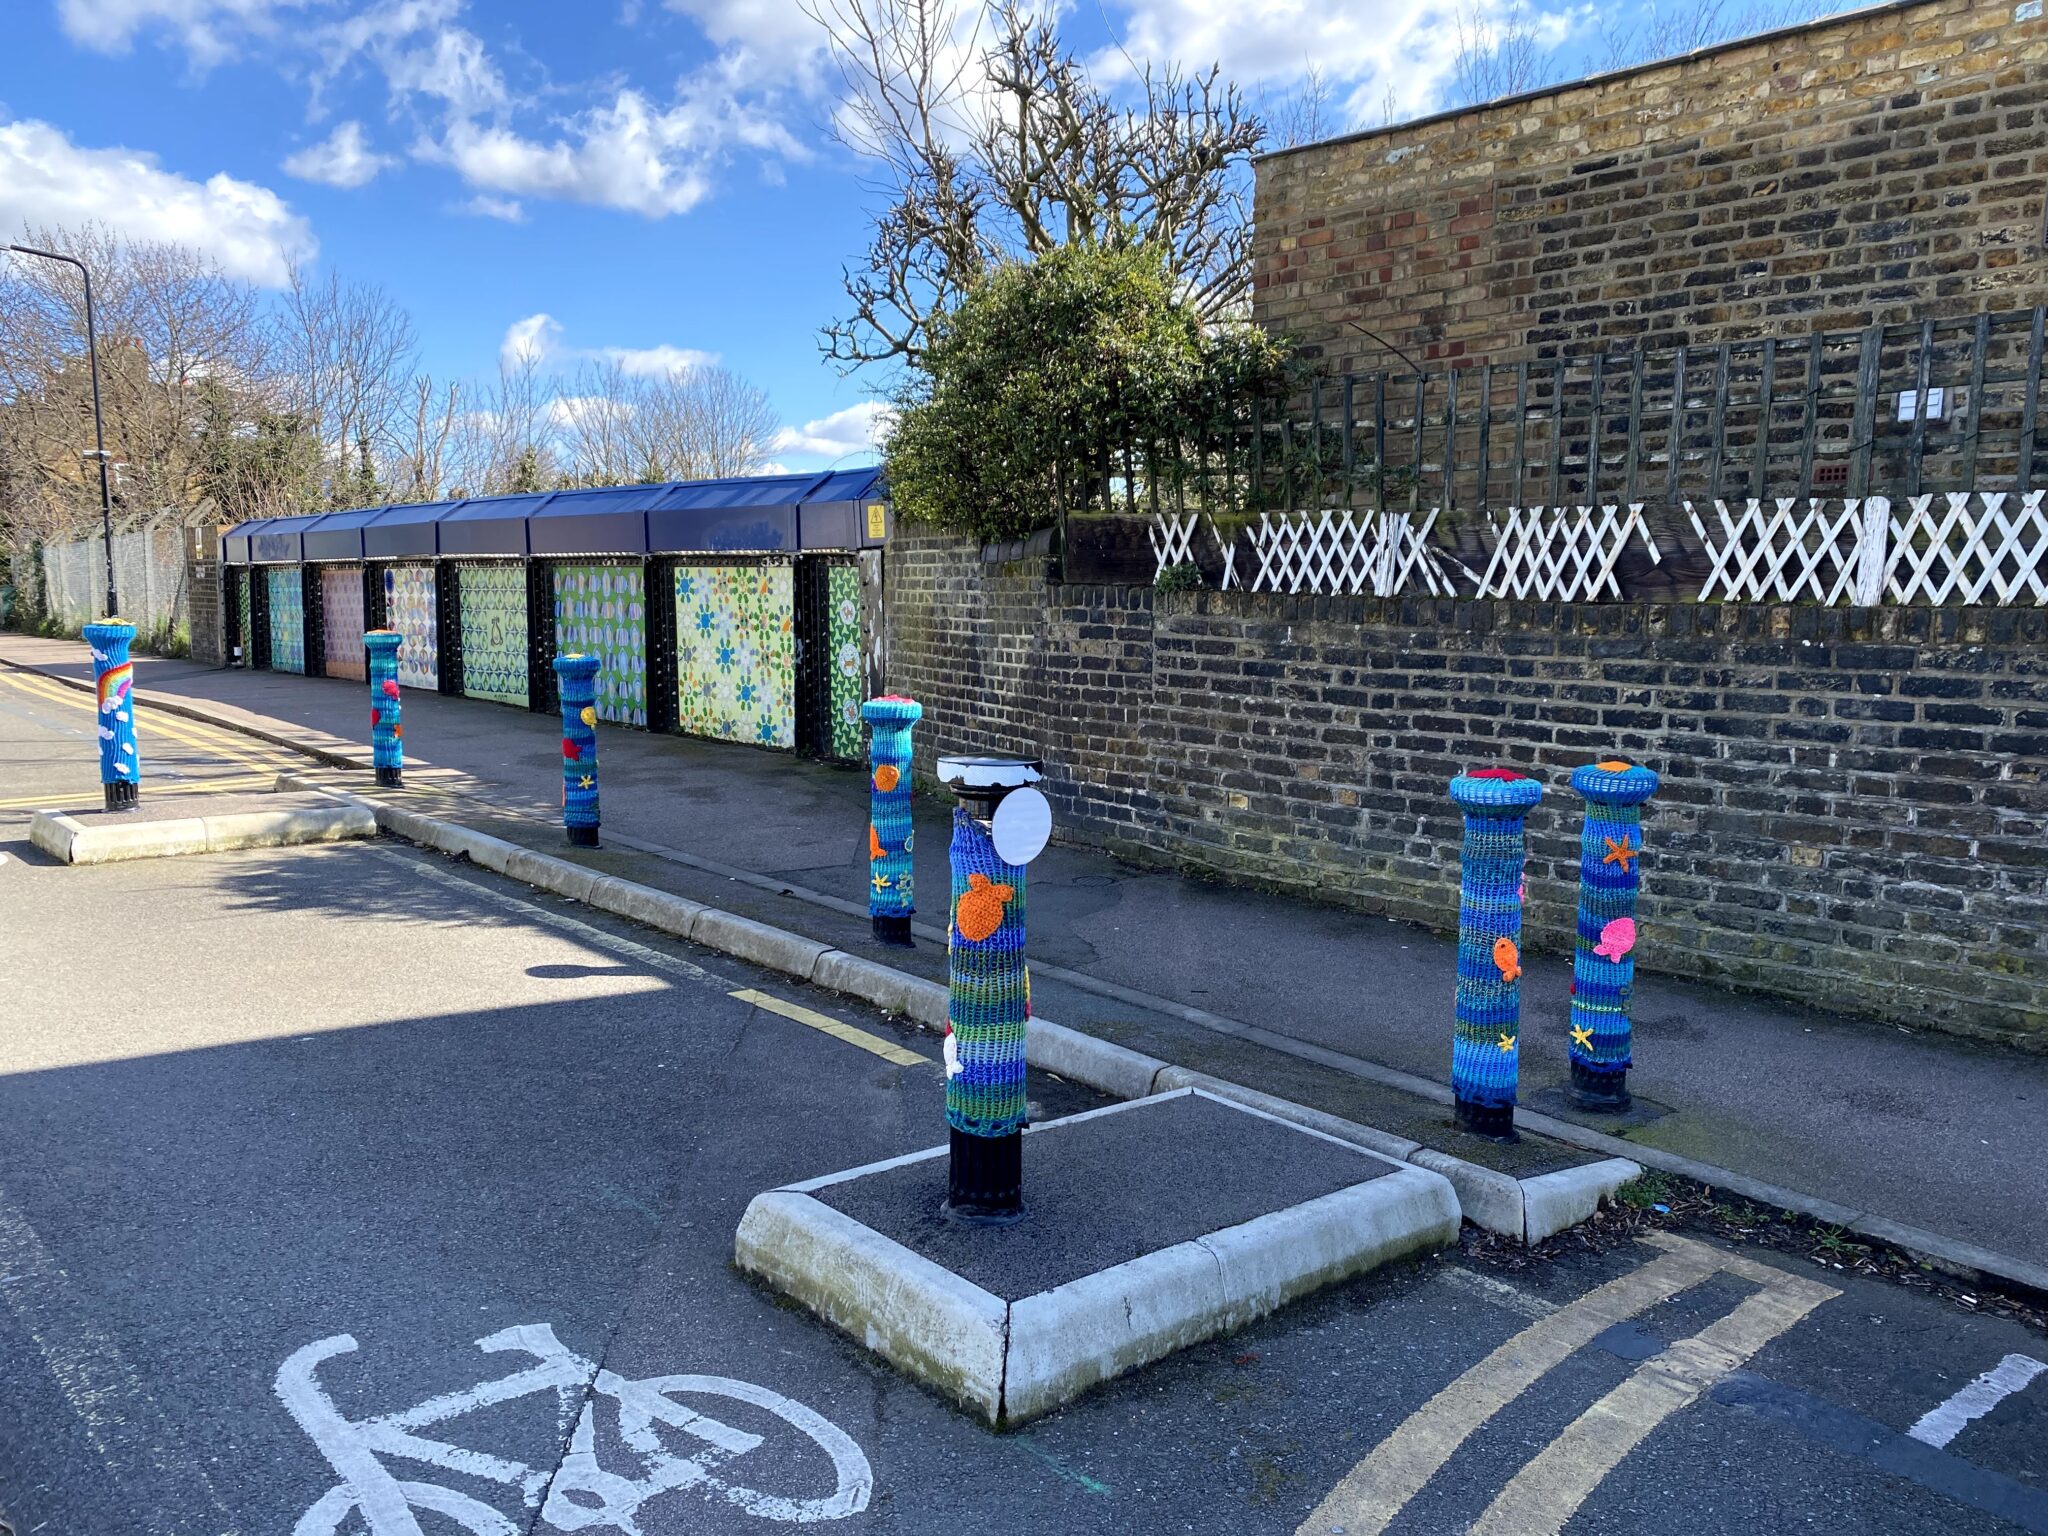
If you add any extra embellishments, do sew them on tightly otherwise they won’t last long when little fingers tug at them.
You can see I was caught in the act of changing the bollard jumpers as there is a new one lying on the ground in the photo below.
Cable Ties
Do hold the bollard jumpers on with cable ties. They were regularly removed until I did this. I use 7-9mm width by 50cm long cable ties which I buy on eBay.
Pull the bollard jumper on and then weave the cable tie through the bottom and top for simple tubes and cut off the ends with a Stanley knife (or sharp craft knife or scissors) once tightened. For the bollard jumpers that can cover the top, I also add another cable tie under the wide top – again, remember to weave it in so it’s more likely to deter removal.
Important Things to Remember
Do not be precious about bollard jumpers. If some not-so-nice kids decide to damage them or remove them, it doesn’t matter. I’ve found most people like them and many stop to take photos. Just like other urban street art, know that once you have put these out in a public place you have released them into the wild and relinquished ownership (although it’s nice if you keep a check on them and do maintenance if needed).
You can add lots more embellishments – I’m at ‘basic level’ for creativity – but don’t add anything that might hurt small children if they grab it and pull it off. (That’s why I didn’t add actual buttons to the guard design.)
I’d recommend starting with stripes and then letting your creativity go wild and have some fun. Now you know how to make them, why not decorate a bollard near you?